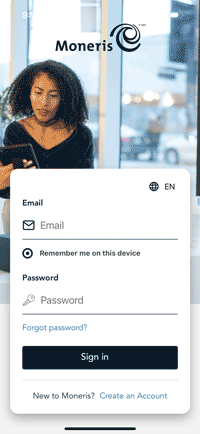
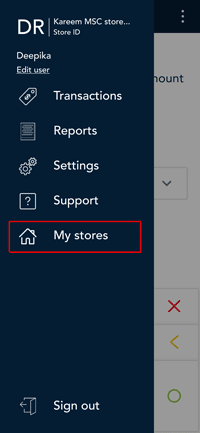
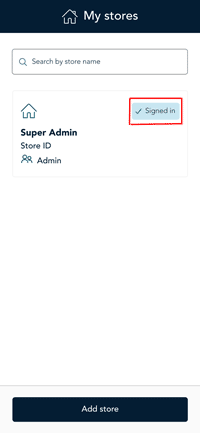
To begin your business transactions, ensure you have selected your store from the My stores account list. During your initial Sign in, you will need to add stores to your My stores account. Follow these steps to add a store to your account list:
Tap Add store located at the bottom of the screen.
The Add stores screen appears.

Tap on the Store ID field. Enter the store ID you want to add.
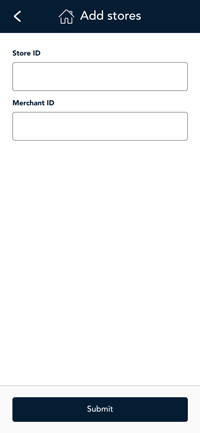
To add another store, tap Add store, then proceed to step 3.
Otherwise, proceed to Sign into store.
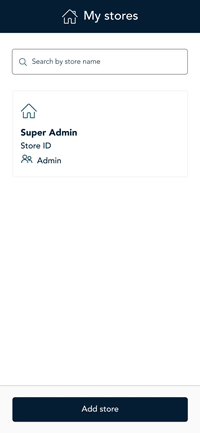
Note: Your selected store will show as signed in. If you have multiple stores, you can only be signed into one store at a time.
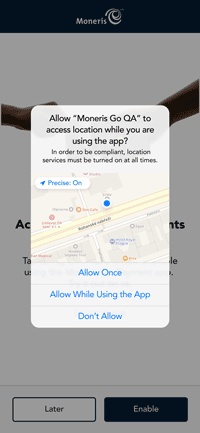
There are three options to choose from:
Allow Once: This will allow a one time access to locations.
Allow While Using the App: This will allow access to locations only during the use of the app.
Don’t Allow: This will not allow access to locations.
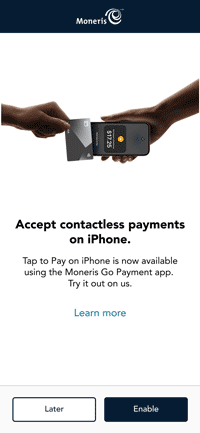
Note: When you select Later, you will only be able to process cash transactions.

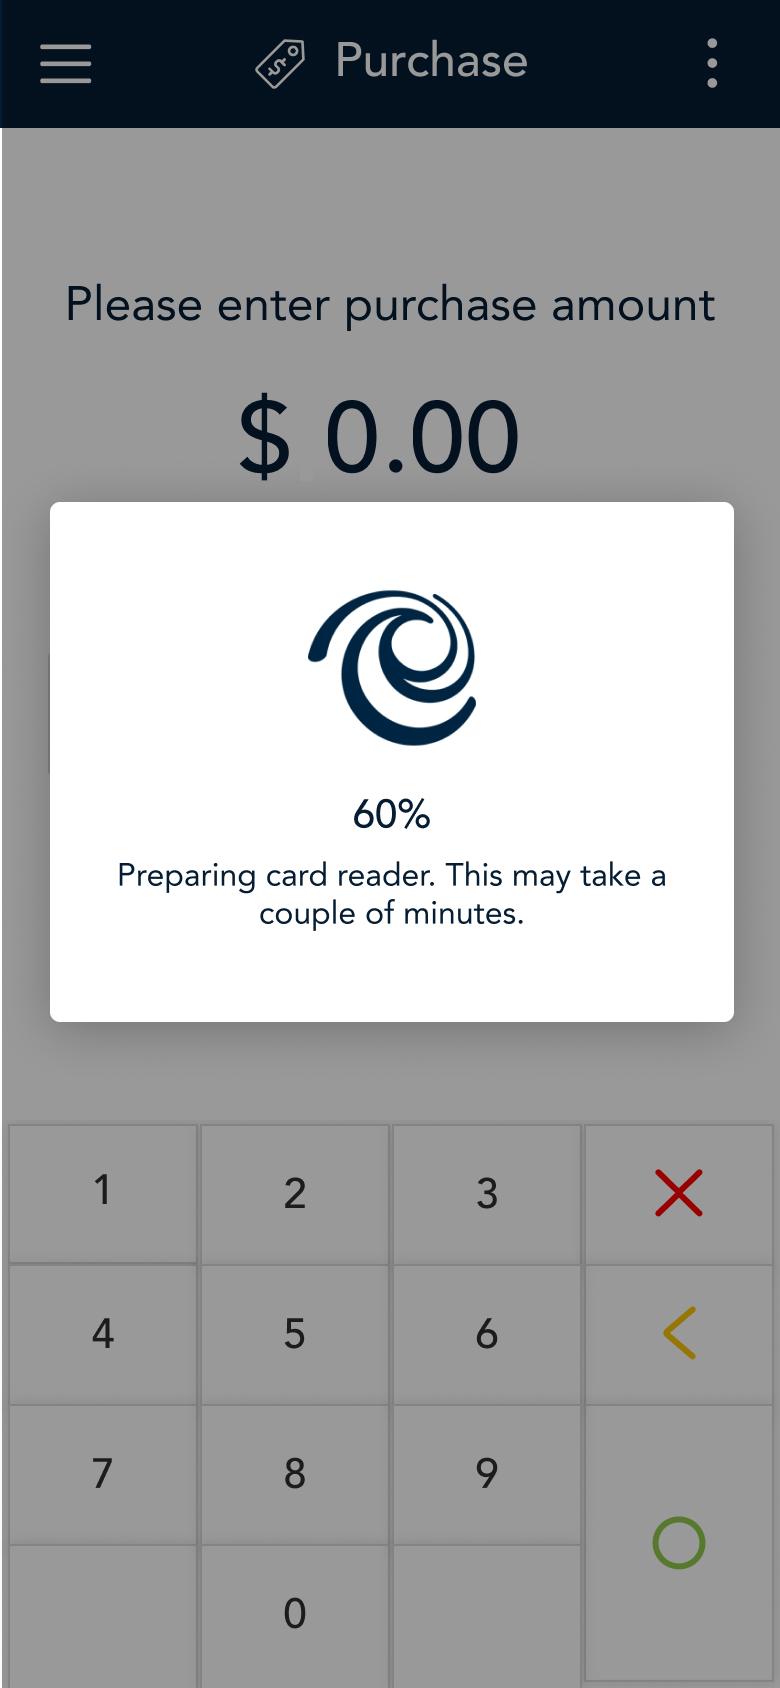
This may take a few minutes, please wait for the process to complete.
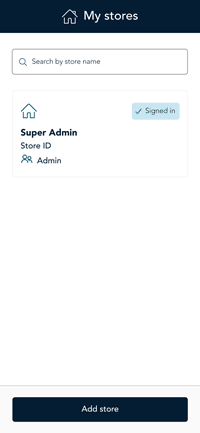
Note: Your selected store will show as “Signed in” in My Stores in the main menu.
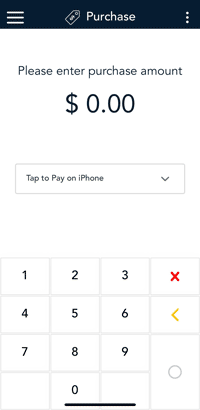
The Moneris Go app is ready to process a purchase transaction.
Preceed to Purchase.