The steps below describe how to add a new user role. Each Moneris Go portal user account must be assigned with a user role. The user role defines which features and functions a user can utilize during their login session in a specific Moneris Go portal store and/or any point-of-sale device or application that is synched to that store.
Log into the Moneris Go portal, and access the store through which you want to create the new role (see Logging into the Moneris Go portal).
Note: If multiple stores are linked to your user account, you can use the My Stores function to move between your stores (see Using My Stores).
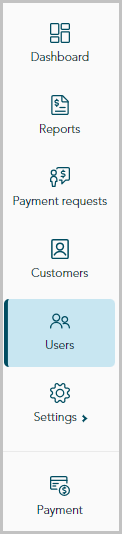
On the sidebar menu (shown below), click on Users.
Note: If the sidebar menu is not displayed on your screen, click on the "menu" ![]() icon in the top left corner of your screen, or expand your browser window to display the sidebar menu.
icon in the top left corner of your screen, or expand your browser window to display the sidebar menu.
When the "Users" page displays (shown below), click on the Roles tab.

When the "Roles" page displays (shown below), click on the Add role button.
Note: The default user roles are "Admin", "High", and "Low".

When the "Add role" window display (shown below), configure the new user role's description and permissions:
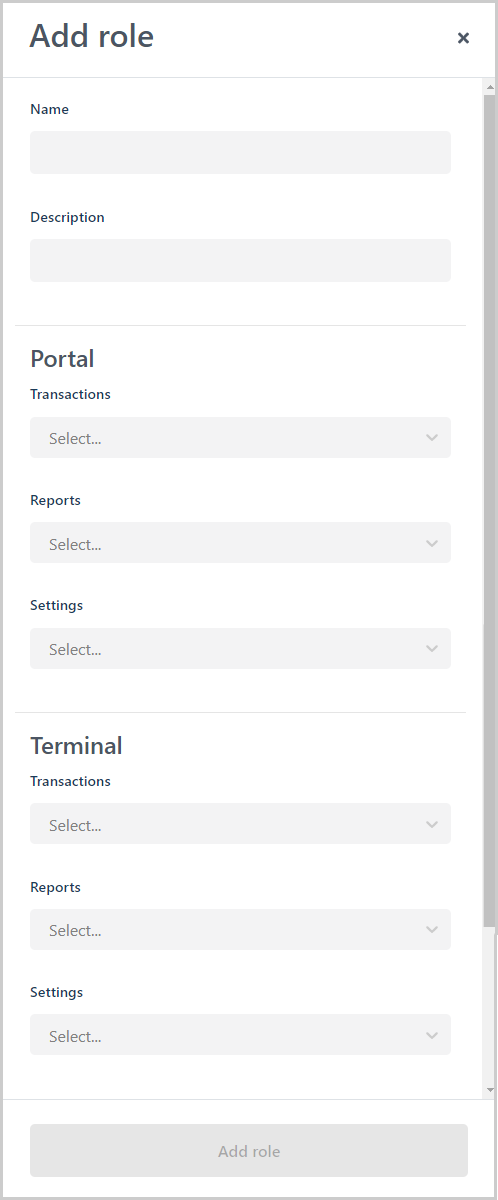
a. In the Name field, enter the user role name.
b. In the Description field, enter the user role description.
To enable/disable user role permissions for the Moneris Go portal:
a. In the "Portal" area, click on the "Transactions", "Reports", and/or "Settings" drop-down, and select one or more permissions to enable (add) them as desired. Click on the "X" beside a permission to disable (remove) it.
Note: "Portal" permissions are also applicable to the Moneris Go app. For a list of supported permissions, see List of user role permissions.
To enable/disable user role permissions for the Moneris Go terminal:
a. In the "Terminal" area, click on the "Transactions", "Reports", and/or "Settings" drop-down, and select one or more permissions to enable (add) them as desired. Click on the "X" beside a permission to disable (remove) it.
Note: For a list of supported permissions, see List of user role permissions.
Click on the Add role button.
When the "User role added successfully" response displays, the operation is complete.