- On the main menu, click Products.

- On the Products page, click Add product.
- On the drop-down menu, click Create a product.
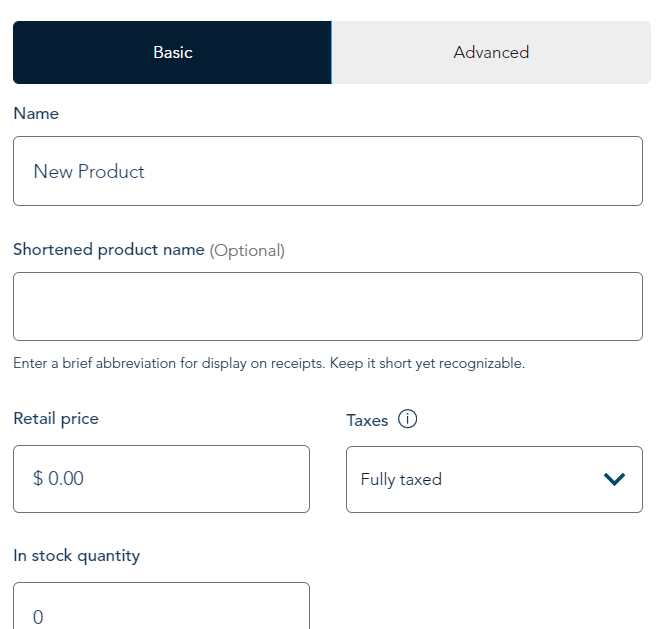
- The “Add a new product” panel appears displaying the Basic tab.
- Enter a name for the product. This field is required.
- Enter an optional shortened product name.
- Enter the retail price. This field is required.
- Taxes: Select a tax setting for this product. The default setting is "Fully taxed". You can also select "PST-exempt" or "Tax-free" if the product is exempt from provincial tax or from all taxes.
- In stock quantity: Skip this field. Each variable will have its own quantity.
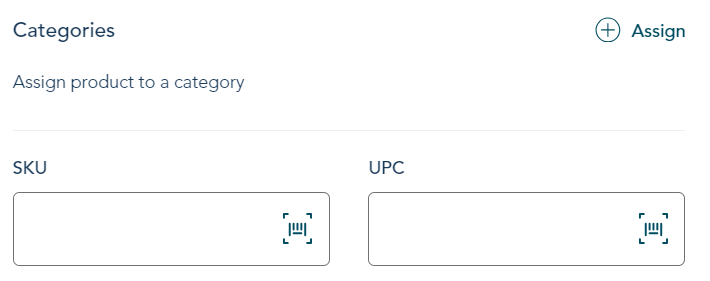
- Under Categories, click Assign to choose one or more categories for this product.
- In the “Assign product to category” panel, select one or more categories then click Confirm. The new product panel reappears.
- SKU: Skip this field. Each variable will have its own SKU.
- Universal product code (UPC): Skip this field. Each variable will have its own SKU.
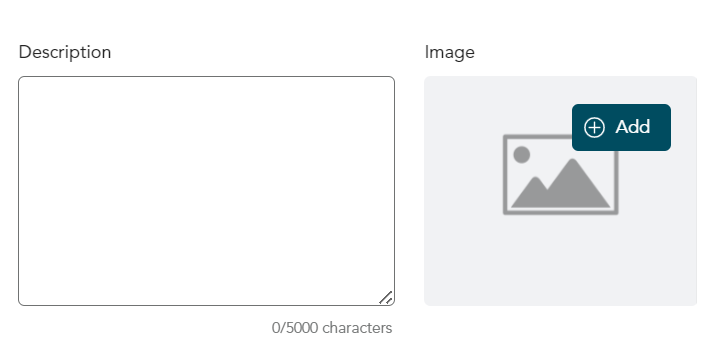
- In the Description field, enter a description of the product. This field is optional.
- Under Image, click Add to include an image. This step is optional but highly recommended.
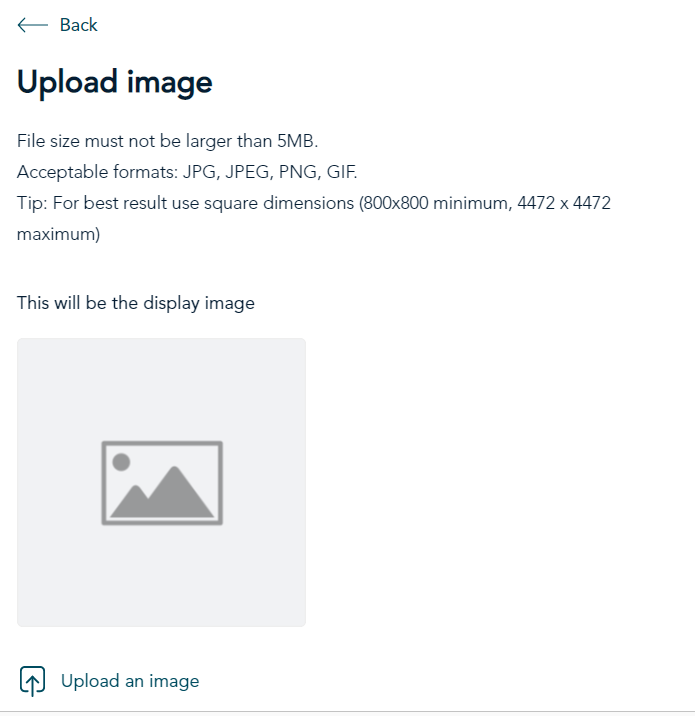
- The "Upload image" panel appears. Click Upload an image. Follow the recommended format and dimensions shown on screen.
- Navigate to the location where the image is stored.
- Select the image and click Open. A preview of the image appears.
- Click Save. The Basic tab reappears.
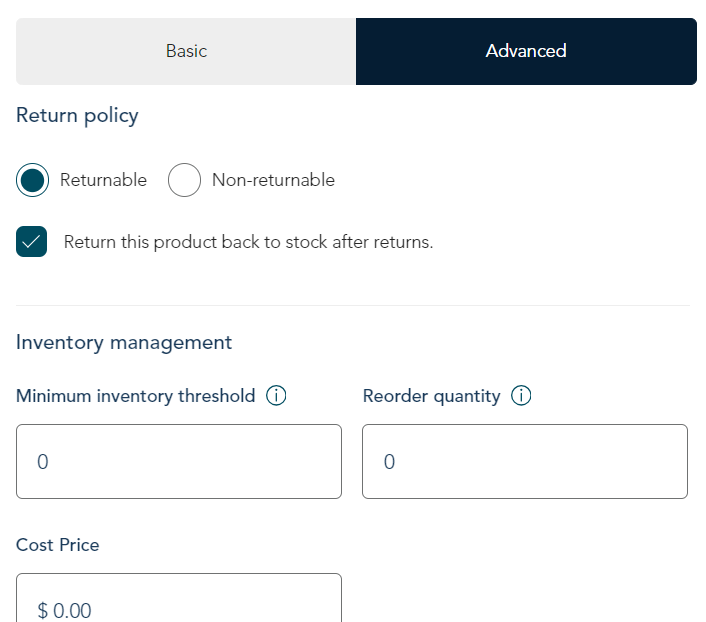
- Click Advanced to display the Advanced tab.
- Under Return policy, select Returnable or Non-returnable to indicate whether a customer can return the product.
- Next to Return this product back to stock after returns, check or uncheck the box to indicate whether a returned product can be placed back in your inventory immediately.
- Minimum inventory threshold. Skip this field since each variable will have its own value.
- Reorder quantity. Skip this field since each variable will have its own value.
- In the Cost Price field, enter your cost to acquire the product. This field is optional.
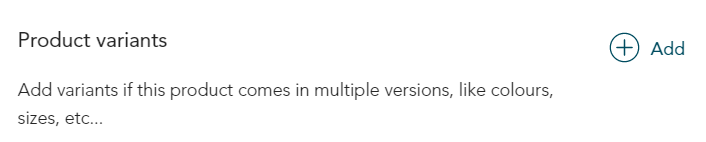
- On the Advanced tab, look for “Product variants” near the bottom of the tab.
- Under Product variants, click Add.
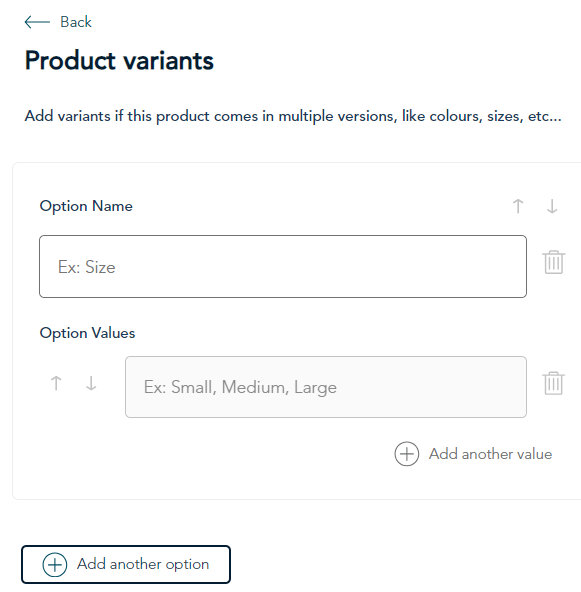

- When the Product variants panel appears, follow these steps.
- Under Option name, enter the first option, for example, size or colour.
- Under Option values, enter the first value you offer for that option. For example, if the option is size, then your first value might be "Small".
- To add another value, click Add another value. When the field appears, enter the second value, for example, "Medium". Repeat this step until you have added all the values you sell for this product option. If you sell three sizes, there should be three fields under Option Values, one for each size.
- To add another option for this product (for example, colour), click Add another option. Enter the option name (example, colour) and then add the values for the option. If you offer two colours (example, blue and red), there should be two fields under Option values.
- Click Generate variants.
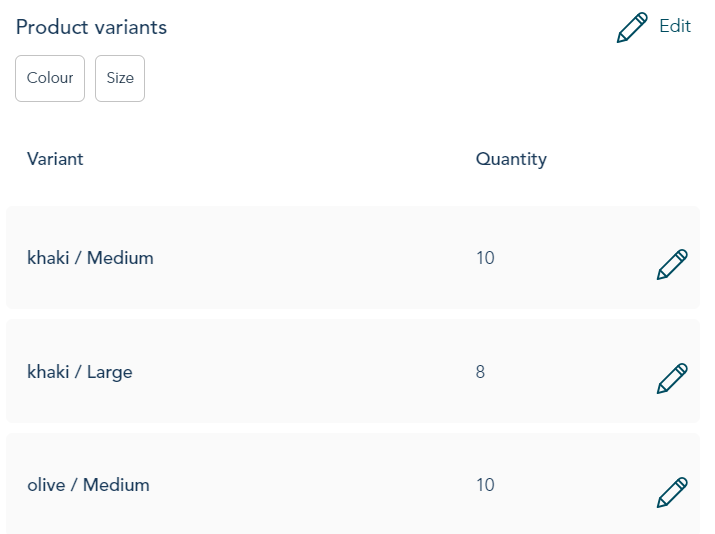
- Based on the options and values you entered, Go Retail creates the variants and displays them under “Product variants”.
- To edit a variant, click the edit icon (pencil icon) beside it.
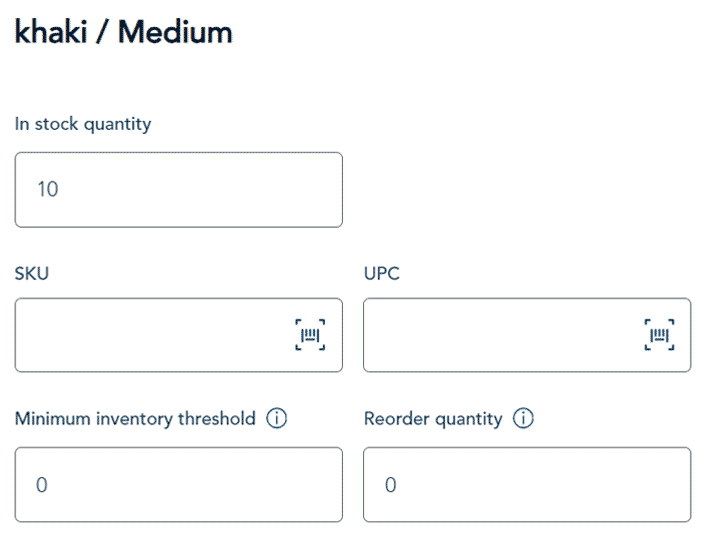
- When the variant option panel appears, make your changes as needed.
- In the In stock quantity field, enter the number of items you have in stock for that variant. For example, if the variant is “medium”, enter the number of medium size items of that product you have in stock.
- Enter the SKU of the variant, either manually or by scanning a barcode. This field is optional.
- Enter the UPC of the variant, either manually or by scanning a barcode. This field is optional.
- Enter a number for the Minimum inventory threshold (optional). When your inventory of this variant falls below the threshold, the product quantity will be indicated in red in the Inventory count report.
- Enter a value for Reorder quantity (optional). This is the number of items to reorder once inventory falls below the minimum inventory threshold. Note: reordering is currently a manual process but may be automated in future releases.
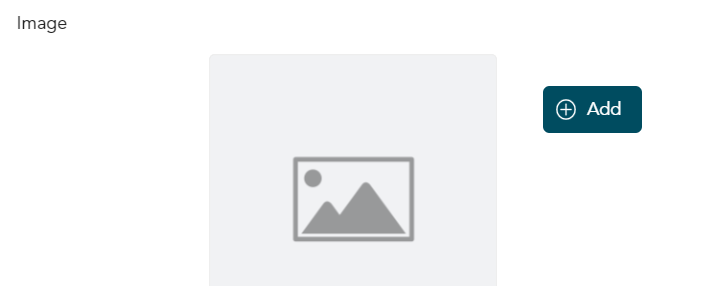
- Add an image for the variant (optional). If you do not add an image of the variant, Go Retail will use the main image of the product (if you included one).
- To add an image of the variant, click Add and select an image.
- Click Save. The Product variant panel reappears.
- Click Save again to return to the Advanced tab.
- Continue editing each configured variant.

- Choose one of the following:
- If you’re finished editing this product, click Save and publish.
- If you want to continue editing this product later, click Save as draft.

- The Products page appears showing the product you added. The value under the Status column will vary:
- If you clicked “Save and publish,” the product appears as Active.
- If you clicked “Save as draft,” the product appears as Draft. (To make it active, click on the product, finish editing, and click Save and publish.)