Add multiple products in one operation (bulk upload)
You can add multiple products to your store in a single operation by uploading a spreadsheet containing the product details. This will save you time if you have a large number of products to sell.
Note: You cannot edit products using bulk upload. To edit products, see Edit a product.
Download the spreadsheet template
Add your products to the spreadsheet
Upload the spreadsheet and fix any errors
Follow the steps in each section to perform a bulk upload of your products.
Download the spreadsheet template
You must use the Go Retail spreadsheet template. It contains the field names that make up a product profile. The template allows Moneris to automate the process of creating a product profile for each row of data.
 |
- On the main menu, click Products.
|
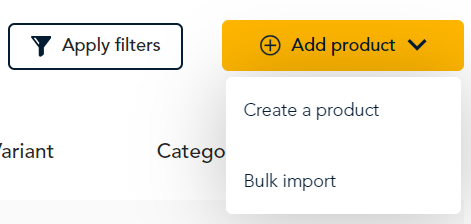 |
- On the Products page, click Add product.
- On the drop-down menu, click Bulk import.
|
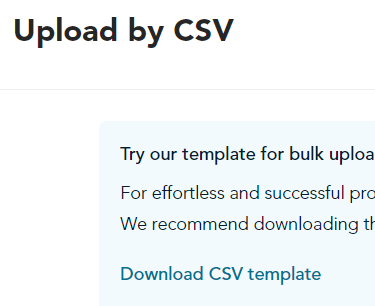 |
- On the Upload by CSV page:
- Click Download CSV template.
- Your computer may save the file to the Download folder or ask you where to save it.
- Locate the file (Moneris_product_template.csv) and open it.
|
Add your products to the spreadsheet
Now that you have the spreadsheet on your computer, you can add your product information. Each row in the spreadsheet represents one product record. For each product you want to upload, complete the fields as indicated by the label at the top of each column.
For each product, follow these steps:
- Make note of the required fields. At minimum, you must enter values for these fields.
- HandleID. This field is required if you are uploading a product with variants, that is, you have values in the fields labelled Option 1 Name/Value, Option 2 Name/Value, or Option 3 Name/Value.
- Product Name. Your product must have a name.
- Retail Price. Your product must have a retail price, for example, 25.99. If you want the product to be complimentary, enter 0.00. When entering the value, do not enter the $ sign or other symbols or letters.
- Complete the other fields in the row based on the information you have available. Refer to this table for allowed values.
| Field |
Values allowed |
|
HandleID
(Required if using variants)
|
Letters, numbers, and dashes are allowed.
Maximum length is 40 characters.
|
| Product Name (required) |
Letters, numbers, and symbols (! @ # $ % ^ & * ( ) _ + ) |
| Option 1/2/3 Name |
Letters, numbers, and symbols |
| SKU |
Numbers and letters only |
| UPC |
Numbers and letters only |
| Description |
Letters, numbers, and symbols |
| Product images |
Link to an image, for example:
https://images.com/folder/prodImage29.png
|
| Variant images |
Link to an image, for example:
https://images.com/folder/prodImage29.png
|
| Categories |
Top level category name and any sub-categories names separated by the greater than (>) symbol. For example: Men > Top > Polo > Slim fit
If these categories don't exist already, the application will create them.
|
| In-stock qty |
Numbers only |
| Returnable |
Y or N |
| Return to stock |
Y or N |
| Minimum inventory |
Numbers only |
| Reorder qty |
Numbers only |
|
Retail Price (required but can be 0.00)
Cost price
|
Numbers only with a period, for example, 45.95 |
| Active |
Y or N
Note: If this field is left blank, the product will be active when uploaded and will be published immediately on your store.
|
- Entering variants. If your product has variants, enter each unique variant as one row. For example, if you offer a shirt in 2 sizes (small and medium) and 2 colors (pink and blue), then use 4 rows. The HandleID should be the same in the 4 rows to indicate that the 4 rows represent a single product with 4 variants. Each row covers a unique variation and allows a unique description, image, and stock information.
- Pink, small (Option 1 Name = Colour, Option 1 Value = Pink, Option 2 Name = Size, Option 2 Value = Small)
- Pink, medium (Option 1 Name = Colour, Option 1 Value = Pink, Option 2 Name = Size, Option 2 Value = Medium)
- Blue, small (Option 1 Name = Colour, Option 1 Value = Blue, Option 2 Name = Size, Option 2 Value = Small)
- Blue, medium (Option 1 Name = Colour, Option 1 Value = Blue, Option 2 Name = Size, Option 2 Value = Medium)
- After entering all of your product information and checking the values, save the file, making sure the file format is CSV (comma separated value).
Note: Do not save as xlsx or other spreadsheet formats.
Upload the spreadsheet and fix any errors
When you are ready to upload your CSV spreadsheet, follow these steps.
|
- On the main menu, click Products.
|
|
- On the Products page, click Add product.
- Click Bulk import.
|
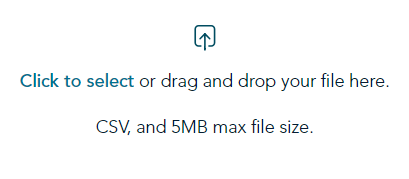 |
- On the Upload by CSV page, use one of these methods to select the CSV file on your computer:
- Drag and drop the file into the upload window.
- Click on the upload window, locate your file, and select it.
|
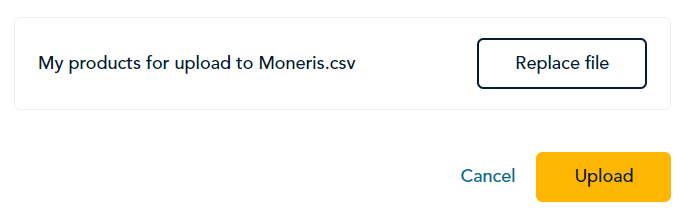 |
- Once the file name appears on the page, click Upload.
|
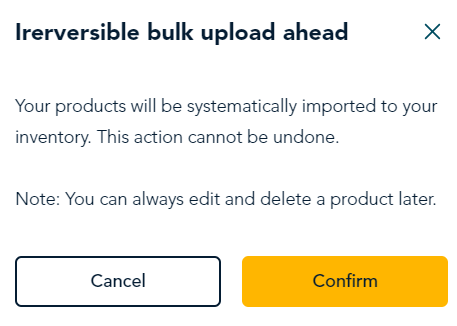 |
- At the confirmation prompt, click Confirm to continue.
- The application validates the product information in the file and imports the data to create new products.
- If there are errors in the product data, the application displays the errors. Continue to step 8 to fix the errors and upload the file again.
- If there are no errors, jump to step 13.
|
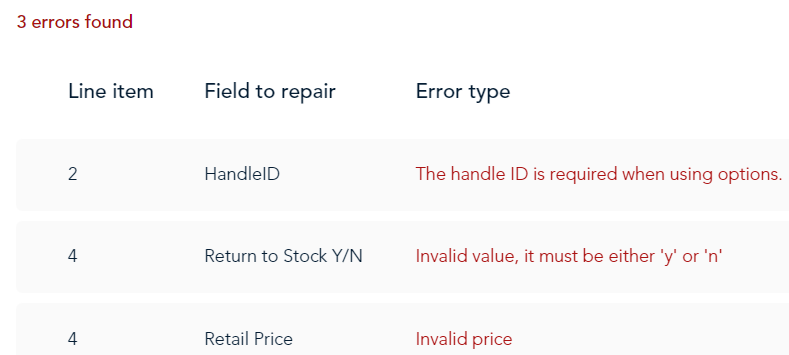 |
- The application displays the errors found in the product data, along with the line number from the spreadsheet, the field to repair, and the error type.
- In the CSV file, fix the errors, based on the error description. Refer to the table in step 2 in the section above to view the acceptable format for each field.
- Save the CSV file before moving to the next step.
|
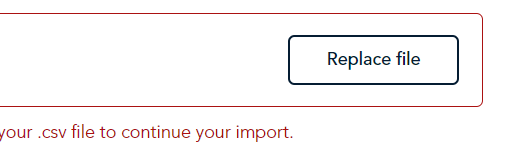 |
- When you're ready to re-upload the file, click Replace file, and select the file from your computer.
- Return to step 5 to upload the file.
- If there are more errors, fix the errors, and upload again.
- If there are no errors, continue to the next step.
|
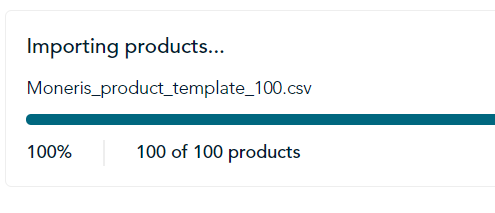 |
- If there are no errors, the application imports the products in the CSV file and displays the number of products imported.
|
 |
Duplicate records
- If a product in your CSV file already exists in your store, the application will skip that record to prevent duplication of products.
|
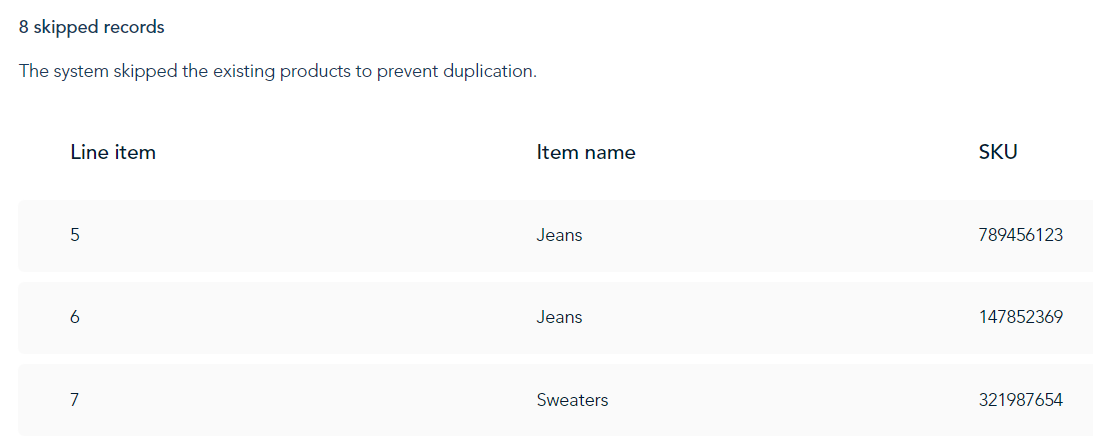 |
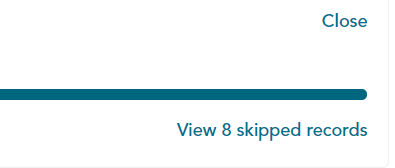
- Click View skipped records to see which items were skipped.
- Click Back to return to the Products page.
|
Related topic
Remember that you cannot use bulk upload to change existing products. To edit a product, you must do so manually.