Set up the kitchen printer
 |
The kitchen printer should be placed in the kitchen, but away from any heat sources or areas where it can get splashed or dirty with food particles during the process of preparing dishes for your customers.
Follow the instructions in this section for all kitchen printers in your restaurant.
|
Before you get started
In order to properly set up the printer, ensure the following conditions have been met:
- You are able to login to the Moneris Go Restaurant portal.
- Kitchens have been created in the Moneris Go Restaurant portal.
- The tablet on which you installed the Go Restaurant app must be on the same network (using the same router) as the kitchen printer to ensure order tickets get printed.
Set up the kitchen printer hardware
Note: You must connect the printer to the same router as the tablet on which you installed the Go Restaurant app. You may need to contact your network/IT technician to help you.
- Unpack the printer from its box and locate its instruction manual.
- Follow the manufacturer’s instructions to connect the power and Ethernet cables to the rear of the printer.
- Follow the manufacturer’s instructions to install the paper roll and ribbon inside the printer.
- Connect the Ethernet cable to an available port on your router.
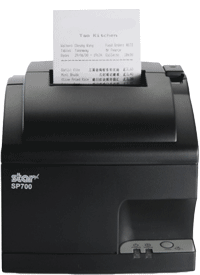
- Turn on the printer by toggling the power switch on the right side of the printer.
- Once the printer powers on and you see the green LED, the printer is ready to print.
Obtain the printer's IP address
You will need the printer's IP address to add the printer to the Go Restaurant portal.
 |
- Power off the printer by pressing the power switch.
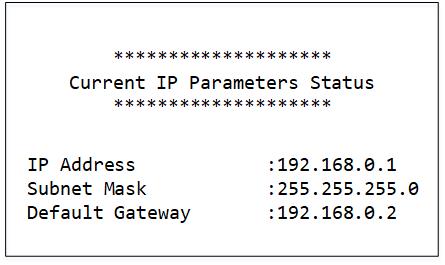
- Hold down the Feed button on the front panel while powering the printer back on. Continue holding down the Feed button until the printer begins printing.
- The printer will print 2 long reports. Locate your printer's IP address on the second report (Current IP Parameters Status).
|
Enable the printer in the Go Restaurant portal
Now that the printer hardware has been set up, it needs to be enabled in the Go Restaurant portal. Follow the instructions below to enable the printer.
 |
- Sign into the Go Restaurant portal.
- On the main menu, click Settings.
- On the General tab, click Printers.
- On the Printers page, click Add printer.
- On the Add printer panel:
- Enter a name for the printer. You should name the printer after the kitchen where it is located.
- Enter the printer's IP address from the second report you printed earlier.
- Select the app where this printer will be available. Select Restaurant App. (The Go Restaurant app now manages all printing, including printing to the kitchen printer.)
- Click Save. The portal returns to the Printers page.
|
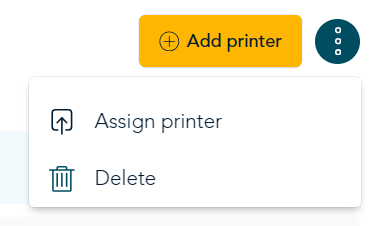
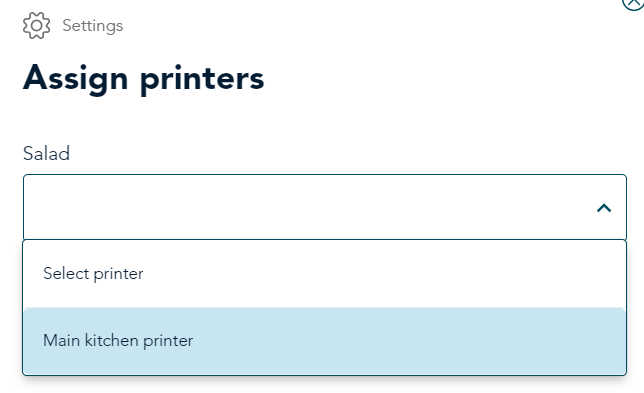
Assign a printer to each kitchen
Once you have set up one or more printers, you must assign a printer to each kitchen you created in the portal.
Related topics
Troubleshooting kitchen printer issues, including hardware and error messages