
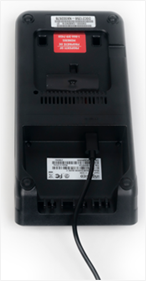
Charge the terminal’s internal battery for 3 hours using one of the following methods:
Recommendations: You must use the exact power adaptor and cables provided by Moneris to work with the Moneris Go Plus terminal and base. Failure to do so may affect the operability of, or cause damage to, the equipment. Always plug the charging cable into the power source last to avoid power surges. Use a power bar equipped with surge protection where possible.
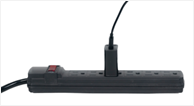
Note: Use a power bar to avoid electrical surges.
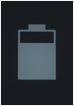
a. Wait for the battery charging icon to display. This indicates that the terminal is receiving power and the battery is charging.
b. Continue charging the terminal during the rest of the setup procedures.
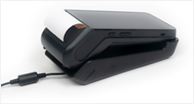
Use the optional charging base if you have it, otherwise continue to Power on the terminal.
Note: See manual in the box.
Note: Use a power bar to avoid electrical surges.
a. Wait for the battery charging icon to display. This indicates that the terminal is receiving power and the battery is charging.
b. Continue charging the terminal during the rest of the setup procedures.