Follow the steps below to enable Apple Pay in the checkout so that customers using the checkout can pay using Apple Pay. 11
Note: Your Moneris Go portal store must be enabled to support Apple Pay configuration using Simple Web Setup (contact us if you need to have this feature enabled on your store).
Important! To integrate Moneris Checkout into your ecommerce solution, you need to create and configure your Moneris Checkout profile in conjunction with developing your ecommerce solution according to Moneris' integration specifications as outlined in How to get started.
Ensure the checkout profile that you want to configure is open on your screen.
Note: To reopen an existing profile, see Reopening a Moneris Checkout profile. To create a new profile, see Creating a Moneris Checkout profile.
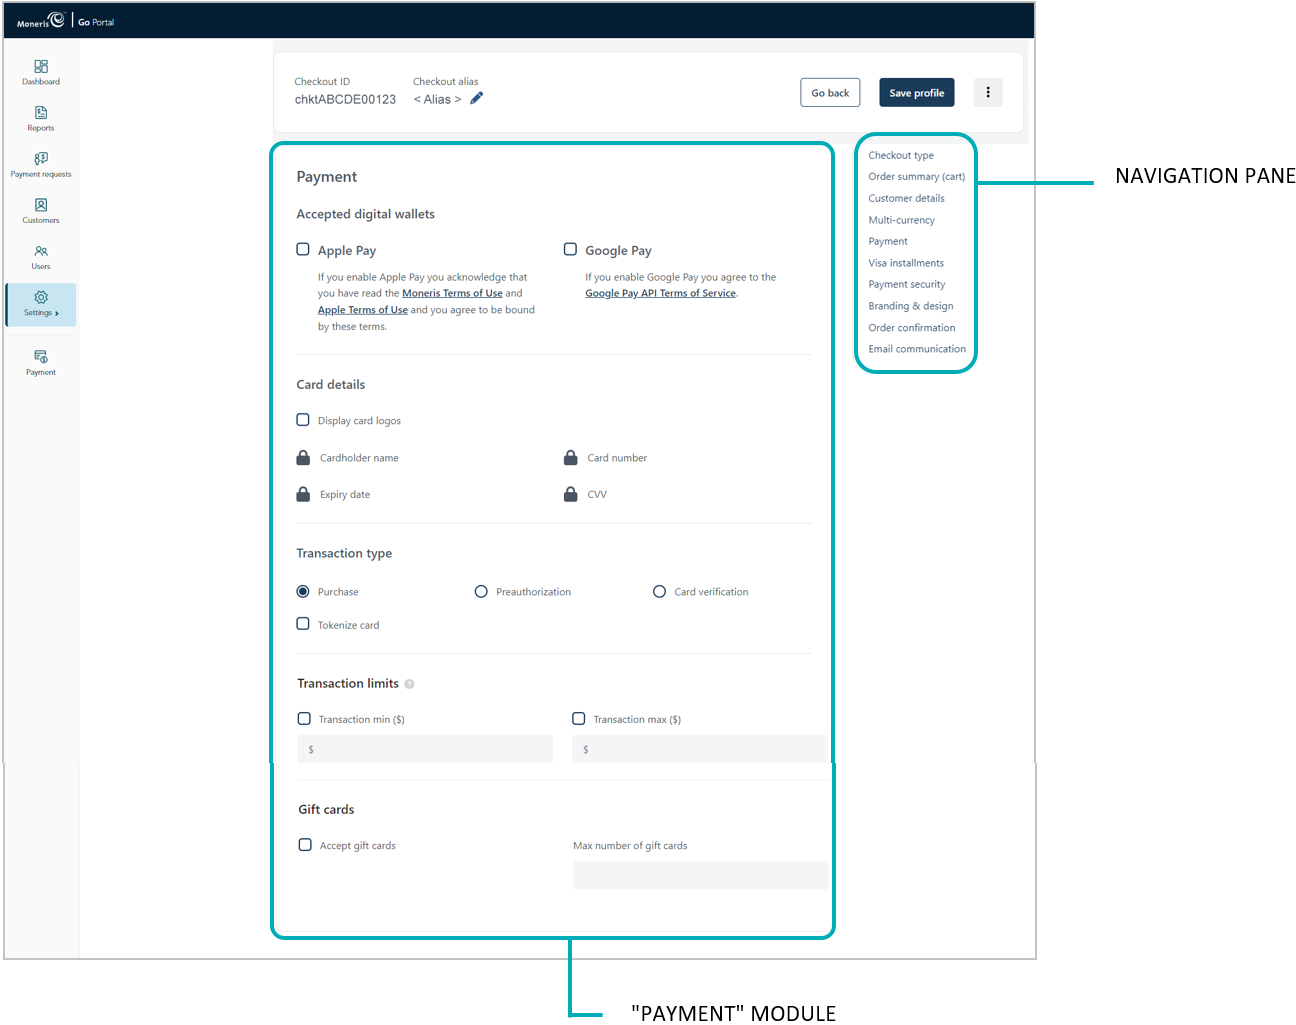
While the profile is open in your configurator, click on Payment in the navigation pane to jump to the "Payment" module (shown below).

Click on the Terms of Use link and the Apple Terms of Use link, and read the terms.
Checkmark the Apple Pay box.
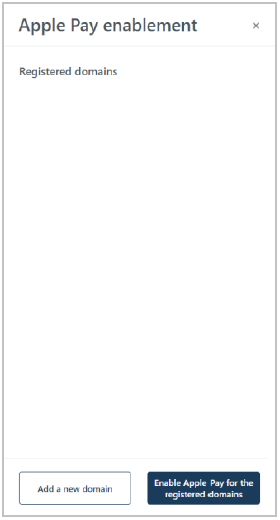
When the "Apple Pay enablement" window displays (shown below), do one of the following:

To register a new domain, continue in Registering a new domain: Apple Pay enablement.
To enable the currently registered domain(s), proceed to step 6.
Note: Any currently registered domain(s) will be listed in this window.
Click on the Enable Apple Pay for the registered domains button.
Save the profile's new configuration:
a. Click on the Save profile button.
b. When the "Successfully updated the profile" response displays, the operation is complete:
To preview a full-screen version of the checkout, see Previewing the checkout.
To configure other profile settings, see List of Moneris Checkout features/settings.
To exit the MCO configurator, click on the Go back button (unsaved changes will be discarded).
1