Transactions report
To access the Transactions report, click Reports on the main menu. The Transactions report tab appears by default.
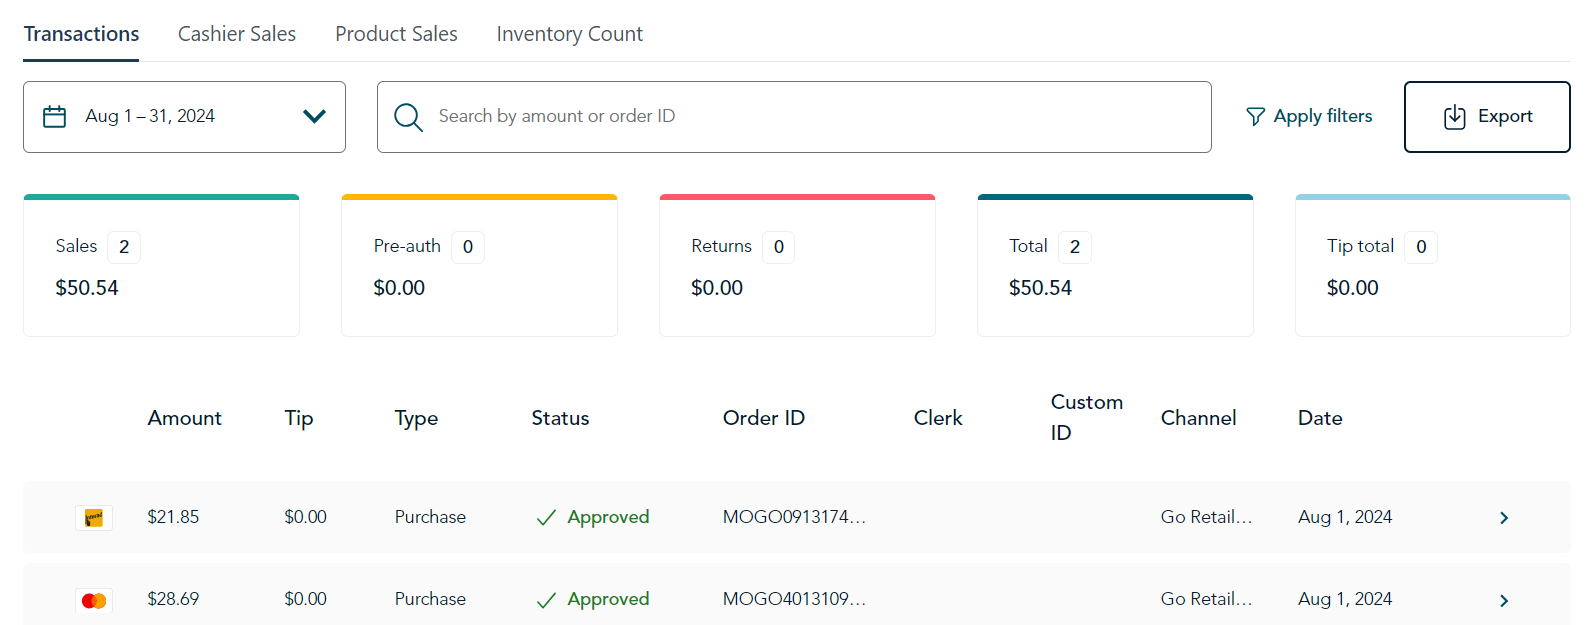
The transactions report shows all transactions. The report allows you to:
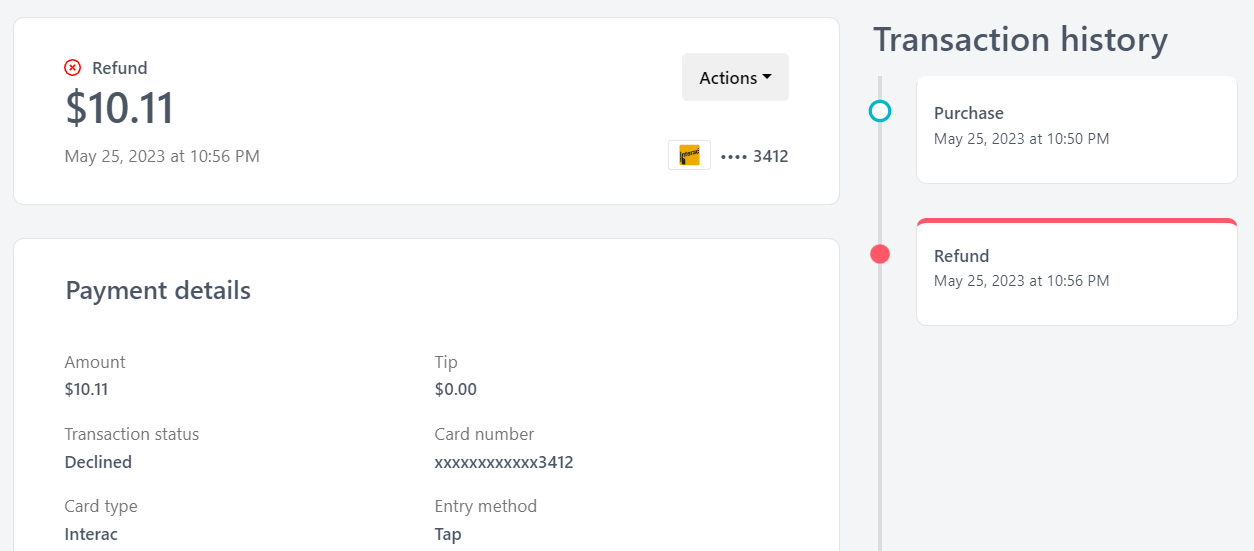
View transaction details
Click on each transaction to open the Transaction details panel, including the transaction history. If an order was refunded, it will appear in the history.
Select a date range
You can choose the date range of the data presented in the report. There are many preset options: today, yesterday, this week, last week, this month, last month, this quarter, and last quarter. You can also select a custom date range using the date picker.
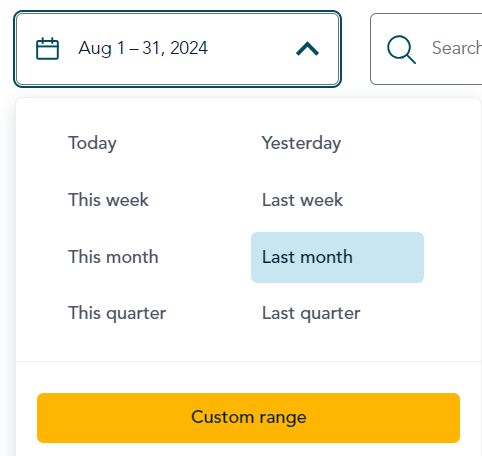 |
- Click on the date range field to view the options.
- Select one of the preset date ranges such as This week or This month. Or, click Custom range and go to the next step.
|
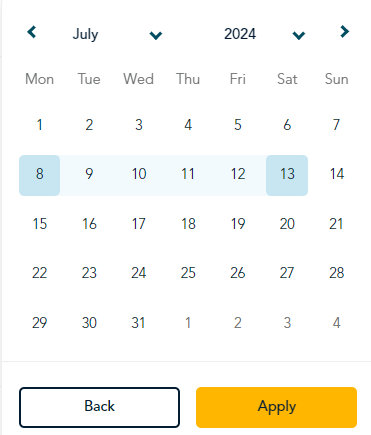 |
- When the custom date range picker appears, choose one or more of these options, as needed:
- Click the month to select another month from the drop-down list.
- Click the year to select another year.
- After selecting the month and year, click the first date and the last date in your custom date range. The dates in between are automatically selected.
- Choose one of these options:
- To apply the custom date range, click Apply.
- To return to the list of preset date ranges, click Back.
- To exit from the date picker without making any changes, click anywhere outside the date picker.
- If you selected a preset or custom date range, the data on the dashboard changes immediately the reflect the new date range.
|
Search by amount or order ID
 |
- In the search bar, enter the value to search for. You can enter:
- a dollar amount, for example, 20.55. Do not enter the $ sign.
- an order ID. You do not have to enter the whole number. For example, you can enter the last 4 digits.
- Press enter on your keyboard. The results, if any, appear immediately.
|
 |
- To clear the search results and return to the full list of transactions, click the x at the end of the search bar. You can also click on the Transactions tab near the top of the page.
|
Filter transactions
You can filter transactions by transaction type, card type, or user account. This is useful when you have numerous transactions.
- To begin filtering, click Apply filters. The Filter transactions panel appears.
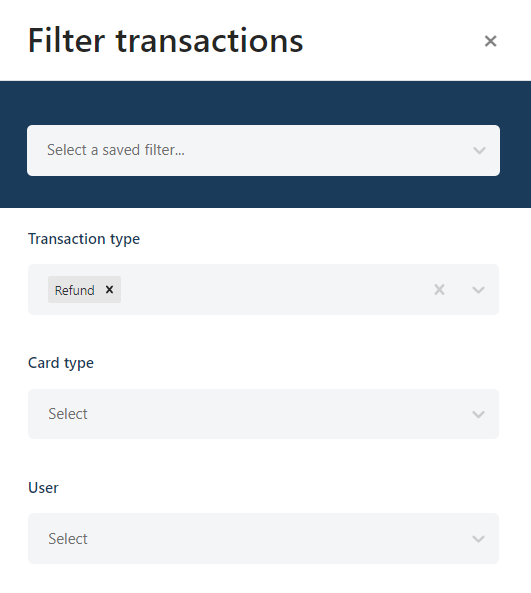 |
- Set one or more filters:
- Transaction type. Click the Select field and select one or more transaction types.
- Card type. Click the Select field and select one or more card brands / payment types.
- User. Click the Select field and select one or more user accounts.
|
 |
- Choose one of the following options:
- To save the filter and apply it, click Save and apply. Once you save a filter, you can easily run it again.
- To apply the filter without saving it, click Apply.
- To clear all filters and start again, click Clear all.
- If you applied the filter, the Transactions tab reappears showing only those transactions, if any, that match the filter you applied.
|
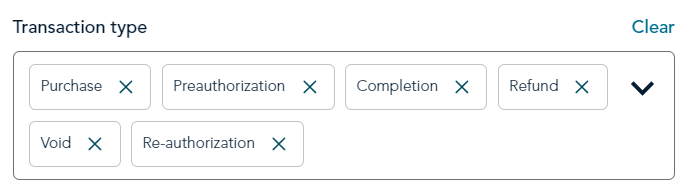 |
- To clear one or more filters:
- Apply filters.
- Click the x beside a specific item, or click Clear to remove all items from the filter.
- Click Apply at the bottom of the panel.
|
Download the report
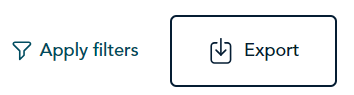 |
- Click Export.
|
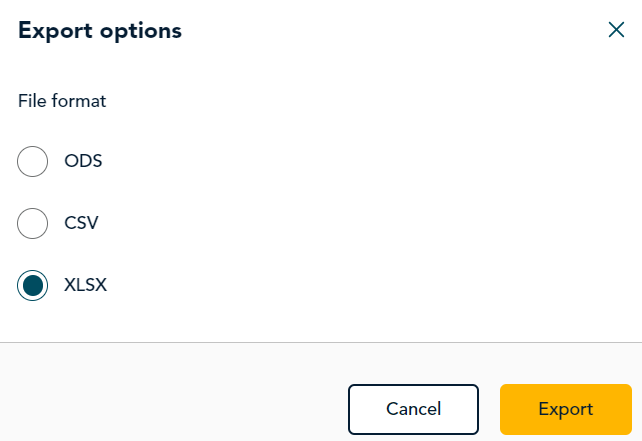 |
- Choose a data format from the list.
- OpenDocument spreadsheet (ODS)
- Comma separated values (CSV)
- Microsoft Excel (EXCEL / XLSX)
- Click Export.
- The report downloads immediately to your computer. Check the Downloads folder or wherever your downloads are stored.
|