Set up the receipt printer
 |
The Go Restaurant receipt printer is intended to print transaction receipts for your customers after payment. For convenience, make sure the printer is located close to the tablet where you will be entering orders and taking payment from your customers. Follow each section of this topic to set up the receipt printer.
|
Set up the printer hardware
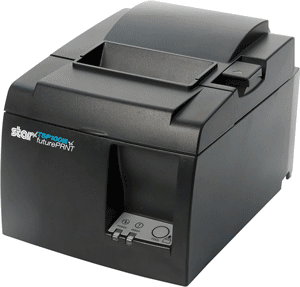
- Carefully unpack the contents of the box and locate the manufacturer's Easy Setup Guide. Review the Easy Setup Guide for help as you follow the steps below.
- Turn the printer upside down. Insert the network cable into the network port in the back of the printer. Connect the other end of the network cable to your local area network (LAN). Important: The receipt printer and the tablet (on which you are placing orders) must be on the same network in order to connect.
- Connect the power cable to the power port in the back of the printer. Connect the other end of the power cable to a working power outlet. A power bar with surge protection is recommended.
- Turn the printer right side up with the printer facing you.
- Push the release lever to open the printer cover. Insert the paper roll with the loose end of the paper unrolling from the bottom of the roll. Make sure the paper roll extends past the paper cutter. Press down on both sides of the printer cover to firmly close the cover.
- Power on the printer by pressing the power switch on the left side of the printer. The blue light on the front panel may blink. Once the blue light is steady (not blinking), the printer is ready.
Obtain the printer's IP address
You will need the printer's IP address to add the printer to the Go Restaurant portal.
 |
- Power off the printer by pressing the power switch. The blue light goes off.
- Hold down the Feed button on the front panel while powering the printer back on. Continue holding down the Feed button until the printer begins printing.
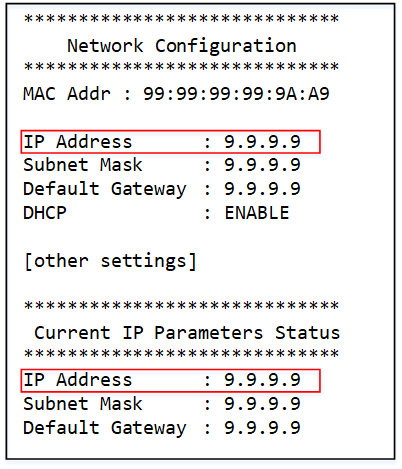
- The printer will print 2 reports. Locate your printer's IP address on the second report (Network Configuration / Current IP Parameters Status).
|
Add the printer to the Moneris Go Restaurant portal
Now that the printer hardware is set up, you must add the printer to the Go Restaurant portal.
 |
- Sign into the Go Restaurant portal.
- On the main menu, click Settings.
- On the General tab, click Printers.
- On the Printers page, click Add printer.
- On the Add printer panel:
- Enter a name for the printer (for example, Main counter receipt printer);
- Enter the printer's IP address from the second report you printed earlier;
- Select the app where this printer will be available. Since you are installing a receipt printer, select Restaurant App.
- Click Save. The portal returns to the Printers page.
|
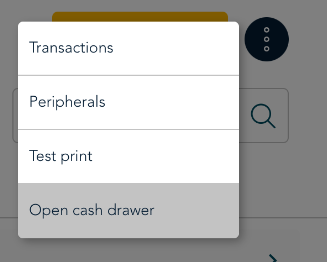
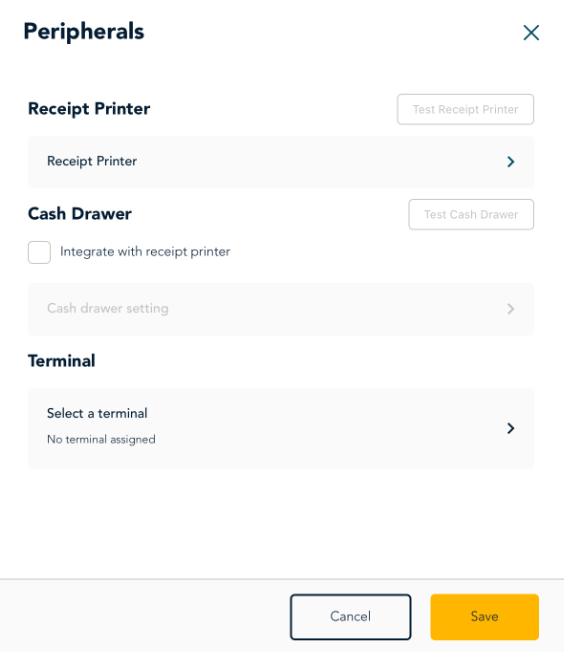
Connect the printer to the Go Restaurant app on your tablet
Now that the receipt printer is available in the Go Restaurant portal, you must connect it to the tablet where you will be entering orders and taking payments.
Important: The printer and the tablet must be on the same network otherwise they will not be able to connect.
Error messages
For error messages, refer to Error messages related to printing in the Troubleshooting topic.