Cash drawer

Cash drawer 
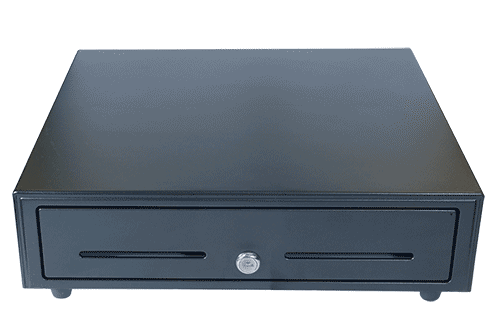
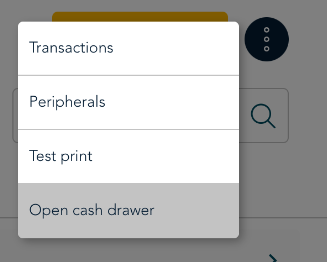
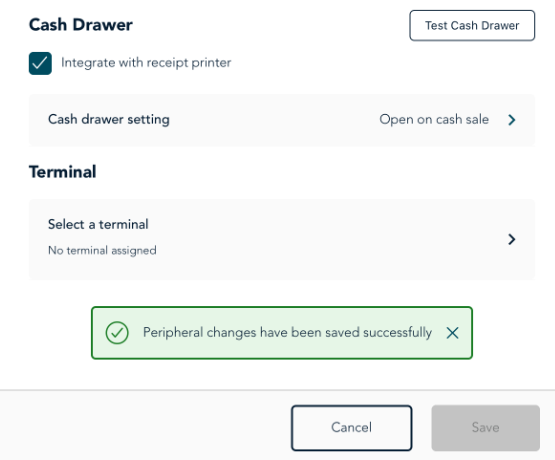
Moneris Go Restaurant works with a cash drawer that will open when it receives a command from the application via the receipt printer. The cash drawer will not work until the receipt printer has been properly installed and configured. During setup, you can test the cash drawer by opening it from the Go Restaurant app on your tablet.

Set up the hardware

Note: Before setting up the cash drawer you must set up your receipt printer

  1. Carefully unpack the cash drawer from its box.
  2. Locate the keys and unlock the drawer. Ensure the lock remains in the “Unlocked” position so that the drawer will open when a command is sent from Go Restaurant.
  3. Locate the cable that was included with the cash drawer.
  4. Plug one end of the cash drawer cable into the RJ11 port in the back of the drawer.  The RJ11 port looks like a telephone cable port. 
  5. Plug the other end of the cash drawer cable into the RJ11 port in the back of the receipt printer.

Add the cash drawer to the portal

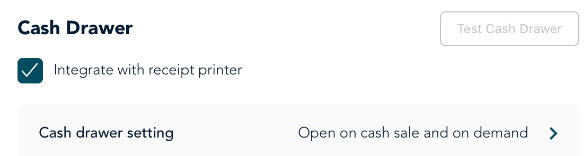
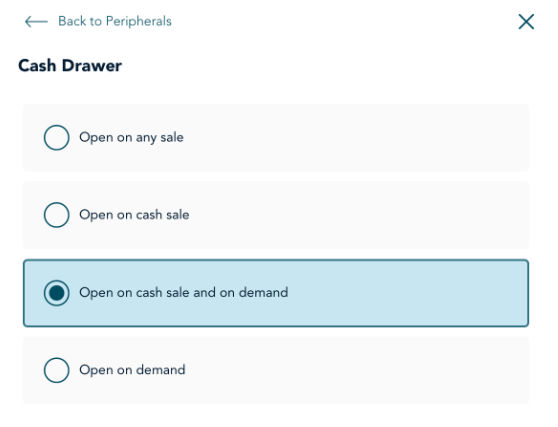
Since the cash drawer is connected to the receipt printer and controlled through the printer, there is no setup required for the cash drawer in the Go Restaurant portal.

Set up the cash drawer in the Go Restaurant app on your tablet

Follow these steps to set up the cash drawer in the Go Restaurant app on the tablet where you will be taking orders and payments from your customers.

Options menu
  1. Sign into the Go Restaurant app on your tablet.
  2. On the ordering mode screen, tap Takeout.
  3. Tap the options Options icon.
  4. Tap Peripherals.
  5. Before setting up the cash drawer, make sure you have selected a receipt printer in the Peripherals window. The cash drawer will not work unless the receipt printer is connected to the Go Restaurant app. 
  1. Tap the checkbox next to Integrate with receipt printer. The cash drawer settings appear (for example, Open on cash sale).
  2. Tap Cash drawer setting to choose when the cash drawer should open. 
  1. On the Cash Drawer screen, select an option to indicate when the cash drawer should open. 
  2. Tap Done
  1. The Peripherals window reappears showing the cash drawer setting you selected. 
  2. Tap Save to save your selection. 
  3. The Test Cash Drawer button changes from grey to black. Tap the button to test the cash drawer. It should open. 
    Note: If the test fails, review all of the steps above to ensure the cash drawer is connected correctly to the receipt printer. Refer to Troubleshooting below if needed. 

Your cash drawer is now ready to work with the Go Restaurant POS app on your tablet. 

Troubleshooting

If the cash drawer does not respond, make sure: