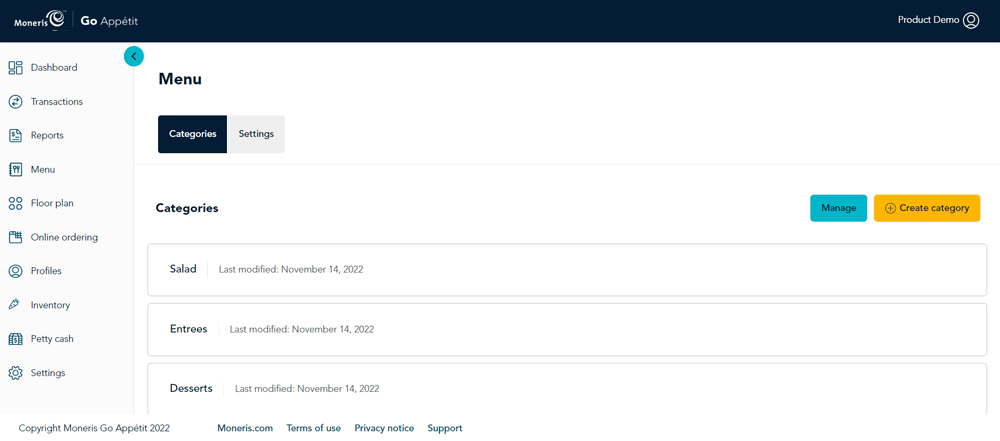
Create menu categories
Categorize your menu to make it easier for your guests to navigate when ordering. Categories can be as narrow and granular, or as broad as you wish. Follow the instructions below to create as many menu categories as you need.
Examples of menu categories include:
- Breakfast
- Lunch
- Dinner
- Entrees
- Desserts
- Beverages
- Starters
- Sandwiches
- Pasta etc.
To create a menu category:
- On the main menu, click the Menu icon (
 ). The Menu screen appears.
- Click the Create category button in the top right corner of the screen. The Create category side panel appears.
- Click inside the Category name field and enter a name.
- Under Tax Profile, select a tax profile for this category. When you create a menu item, Go Restaurant will automatically apply the tax profile for the menu category. If needed, you can also apply a different tax profile to the menu item.
- Click the Save button.
- Repeat steps 2 – 5 to create additional menu categories.
Related topics
View and search all menu items
Modify multiple menu items in one operation (including reassigning menu category)