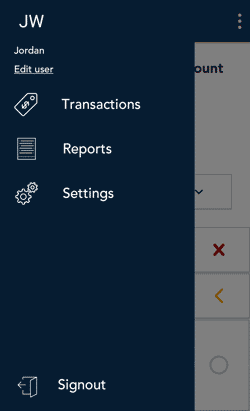
- At the Main menu, tap Reports.
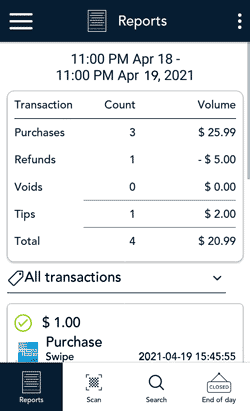
- Look under “Latest transactions” to see all transactions ordered by date, and tap the pre-authorization you want to complete or void.
- If needed, tap the All transactions dropdown menu and select Pre-authorizations to see pre-authorization transactions processed in the last 30 days.
- You can also tap Scan to scan the QR code from a receipt, or tap Search to look for the transaction to be completed or voided. For instructions, refer to Finding a transaction using Scan or Search.
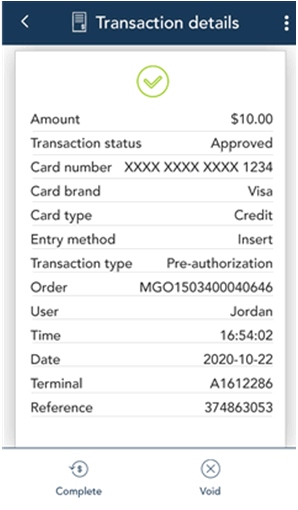
- The transaction details screen appears.
- Verify this is the right pre-authorization. To go back, tap < icon in the title bar.
- To complete the pre-authorization, tap Complete, and proceed to step 4.
- To void the pre-authorization, tap Void, then tap OK on the confirmation screen. Proceed to step 8 (Processing, please wait).
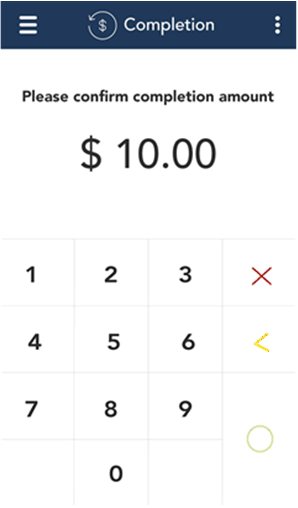
- The “Completion” screen appears showing the original pre-authorization amount.
- To change the completion amount, tap the Delete < key to delete the full amount, then enter the final amount to charge to the customer’s card.
- Tap the OK ◯ key to continue.

- As indicated on-screen, pass the terminal to the customer so they can respond to any customer prompts.
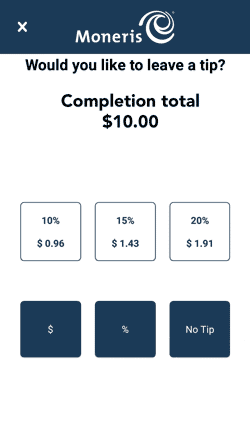
- If tip entry is turned on, the customer enters a tip (or no tip)
To enable tip entry, refer to Tip settings.
- The “Processing, please wait” message appears.
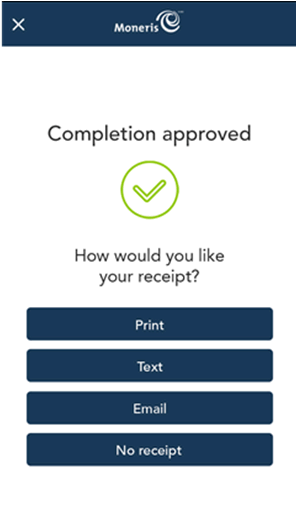
- Once the completion (or void) is approved, the “How would you like your receipt?” prompt appears, showing the customer the available options for receiving a receipt: Print, Text, Email, and No Receipt.
Note: You can choose which receipt options customers will see. Refer to Receipt settings.
- The customer selects a receipt format (or no receipt) by tapping one of the options on screen.
If the customer chooses Text or Email, they are prompted to enter the appropriate information (cellular phone number, email address).
- If the customer chose to receive a paper receipt:
- The application prints the receipt.
- The customer tears off the receipt.
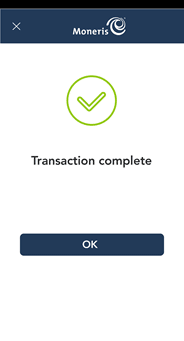
- The “Transaction Complete” prompt appears.
- The customer passes the terminal back to you.
- Tap OK to return to the default transaction screen.
- If you enabled merchant receipt printing, the application prints the merchant copy of the receipt.
Store the receipt for your records.
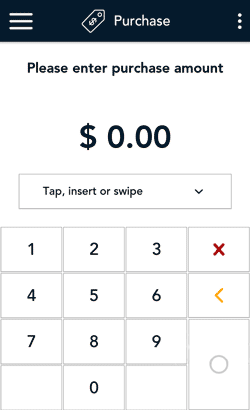
- The default transaction screen appears.
The application is ready to process your next transaction.