 |
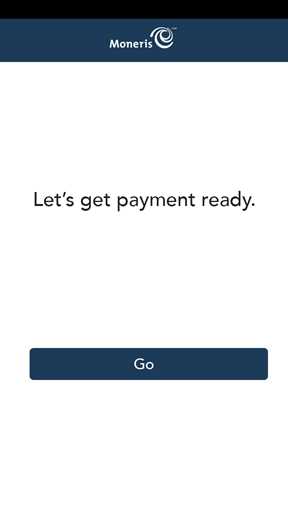
- Tap Go to begin configuring your Moneris Go application.
Note: If you make any changes to these settings, those changes will be reflected on your other Moneris Go terminals. The settings for all of your Moneris Go terminals will be kept
in sync.
|
 |
- Review the Receipt settings screen and choose an action:
- To accept the settings shown and move to the next screen, tap Next. You will be able to change the settings later.
- To change the settings, tap each toggle or field:
- Customer receipt format. When “Cardholder choice” is enabled, you can enable or disable the receipt options available to your customers. If Cardholder choice is disabled, the application will
automatically print the customer receipt.
- Print QR code. This setting is enabled by default. To stop printing QR codes on all receipts, tap the toggle to disable the setting.
- Print delay. This setting determines the delay (in seconds) between printing the customer receipt and printing the merchant receipt. To change it, tap the field and set a new value.
- Number of merchant receipts. By default, the terminal will not print a merchant receipt. If you want a receipt for each transaction, tap the field and select a new value (1 or 2 receipts).
- When finished, tap Next.
|
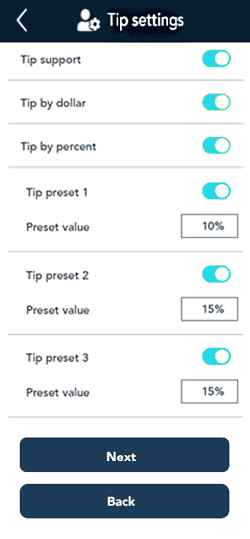 |
- Review the Tip settings screen and choose an action:
- To accept the settings shown and move to the next screen, tap Next. You will be able to change the settings later.
- To change the settings, tap each toggle or field:
- Tip Support: Enable this setting to prompt customers to leave a tip. Once you enable Tip Support the tip options will appear.
- Tip by Dollar: Enable this setting to allow customers to enter a tip as a dollar amount.
- Tip by Percent: Enable this setting to allow customers to enter a tip as a percentage of the total amount.
- Tip Preset 1: Enable this setting to allow customers to enter a tip as a pre-set percentage. Tap the Preset Value field and enter a percentage (for example, 10), then tap OK.
- Tip Preset 2: Enable this setting to allow customers to enter a tip as a pre-set percentage. Tap the Preset Value field and enter the percentage; for example, 15. Tap OK.
- Tip Preset 3: Enable this setting to allow customers to enter a tip as a pre-set percentage. Tap the Preset Value field and enter the percentage; for example, 20. Tap OK.
- When finished, tap Next.
|
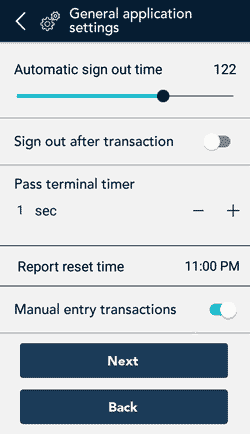 |
- Review the General application settings screen and choose an action:
- To accept the settings shown and move to the next screen, tap Next. You will be able to change the settings later.
- To change the settings, tap each toggle or field:
- Sign out after transaction. This option is disabled by default. If you enable it, the application will sign you out after each transaction.
- Pass terminal timer. When a customer response is needed, the application displays the “Please pass the terminal to your customer” screen for 1 second. Tap the minus sign or plus sign to change this
time period.
- Report reset time. This is the time when your reports will reset to $0. To change it, tap the field and set a new time. For example, if you set it for 12:00am, the reports in the application will
cover the period from 12:00 a.m. to 11:59 p.m. It is best to set the Report reset time 2 to 3 hours outside of your typical business hours – if you close at 10 p.m. set it for 12 a.m., if you close at 2 a.m. set it for 4 a.m. If you
are open 24 hours, choose a logical break point like a shift change.
- Manual entry transactions. This setting allows you to manually enter a credit card number for mail, email, and telephone orders, that is, orders where the payment card is not present.
- When finished, tap Next.
|
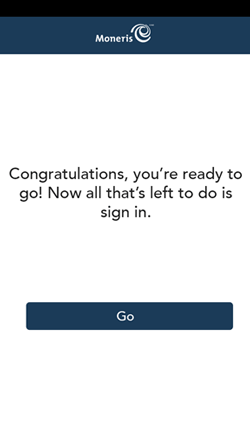 |
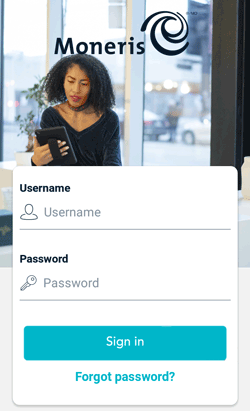
- Tap Go to sign in to the application.
|