If your terminal uses Wi-Fi only, disregard any references to 4G.
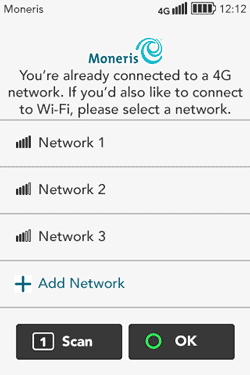
1. Tap + Add Network.
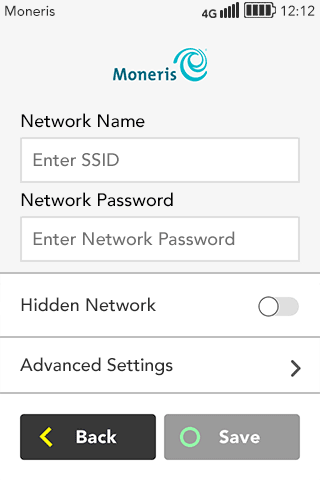
2. Provide the requested information:
§ Network Name: Tap the field and enter the SSID.
§ Network Password: Tap the field and enter the network password.
Note: The terminal will not connect to an unprotected network.
§ Hidden network: If the network is hidden, tap the toggle to enable this field.
§ Advanced Settings: To set up a static IP address, tap Advanced Settings then refer to Advanced Wi-Fi settings. Otherwise, go to the next step.
3. Tap Save to save your settings and connect to the Wi-Fi network.
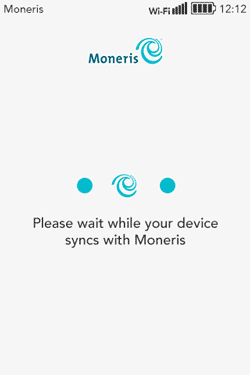
4. Wait while the terminal connects to Moneris to obtain your account settings.
If the terminal is unable to connect to Moneris, refer to the error message "Cannot connect to host" in the Troubleshooting section and follow the instructions for a Wi-Fi connection.
5. The next step is to set up a high security user ID and passcode. Go to the Securing your terminal section or return to Software setup.