Receipt Settings

This screen allows you to change your receipt settings as needed to suit your business.

  1. Tap the Main menu  icon, then tap Settings.
  2. On the Settings menu, tap Receipts.

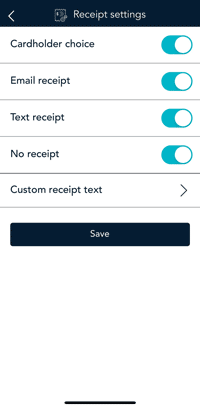
The Receipt settings screen appears.

  1. To give your customers a choice of receipt formats, tap the toggle to turn the option on or off next to the following:

  • Cardholder choice: This will enable or disable all the below options.

Note:      If you disable Cardholder choice, the terminal will print a customer receipt automatically.

  • Email receipt: This will enable or disable the email receipt option.
  • Text receipt: This will enable or disable the text receipt option.
  • No receipt: This will enable or disable the no receipt options.
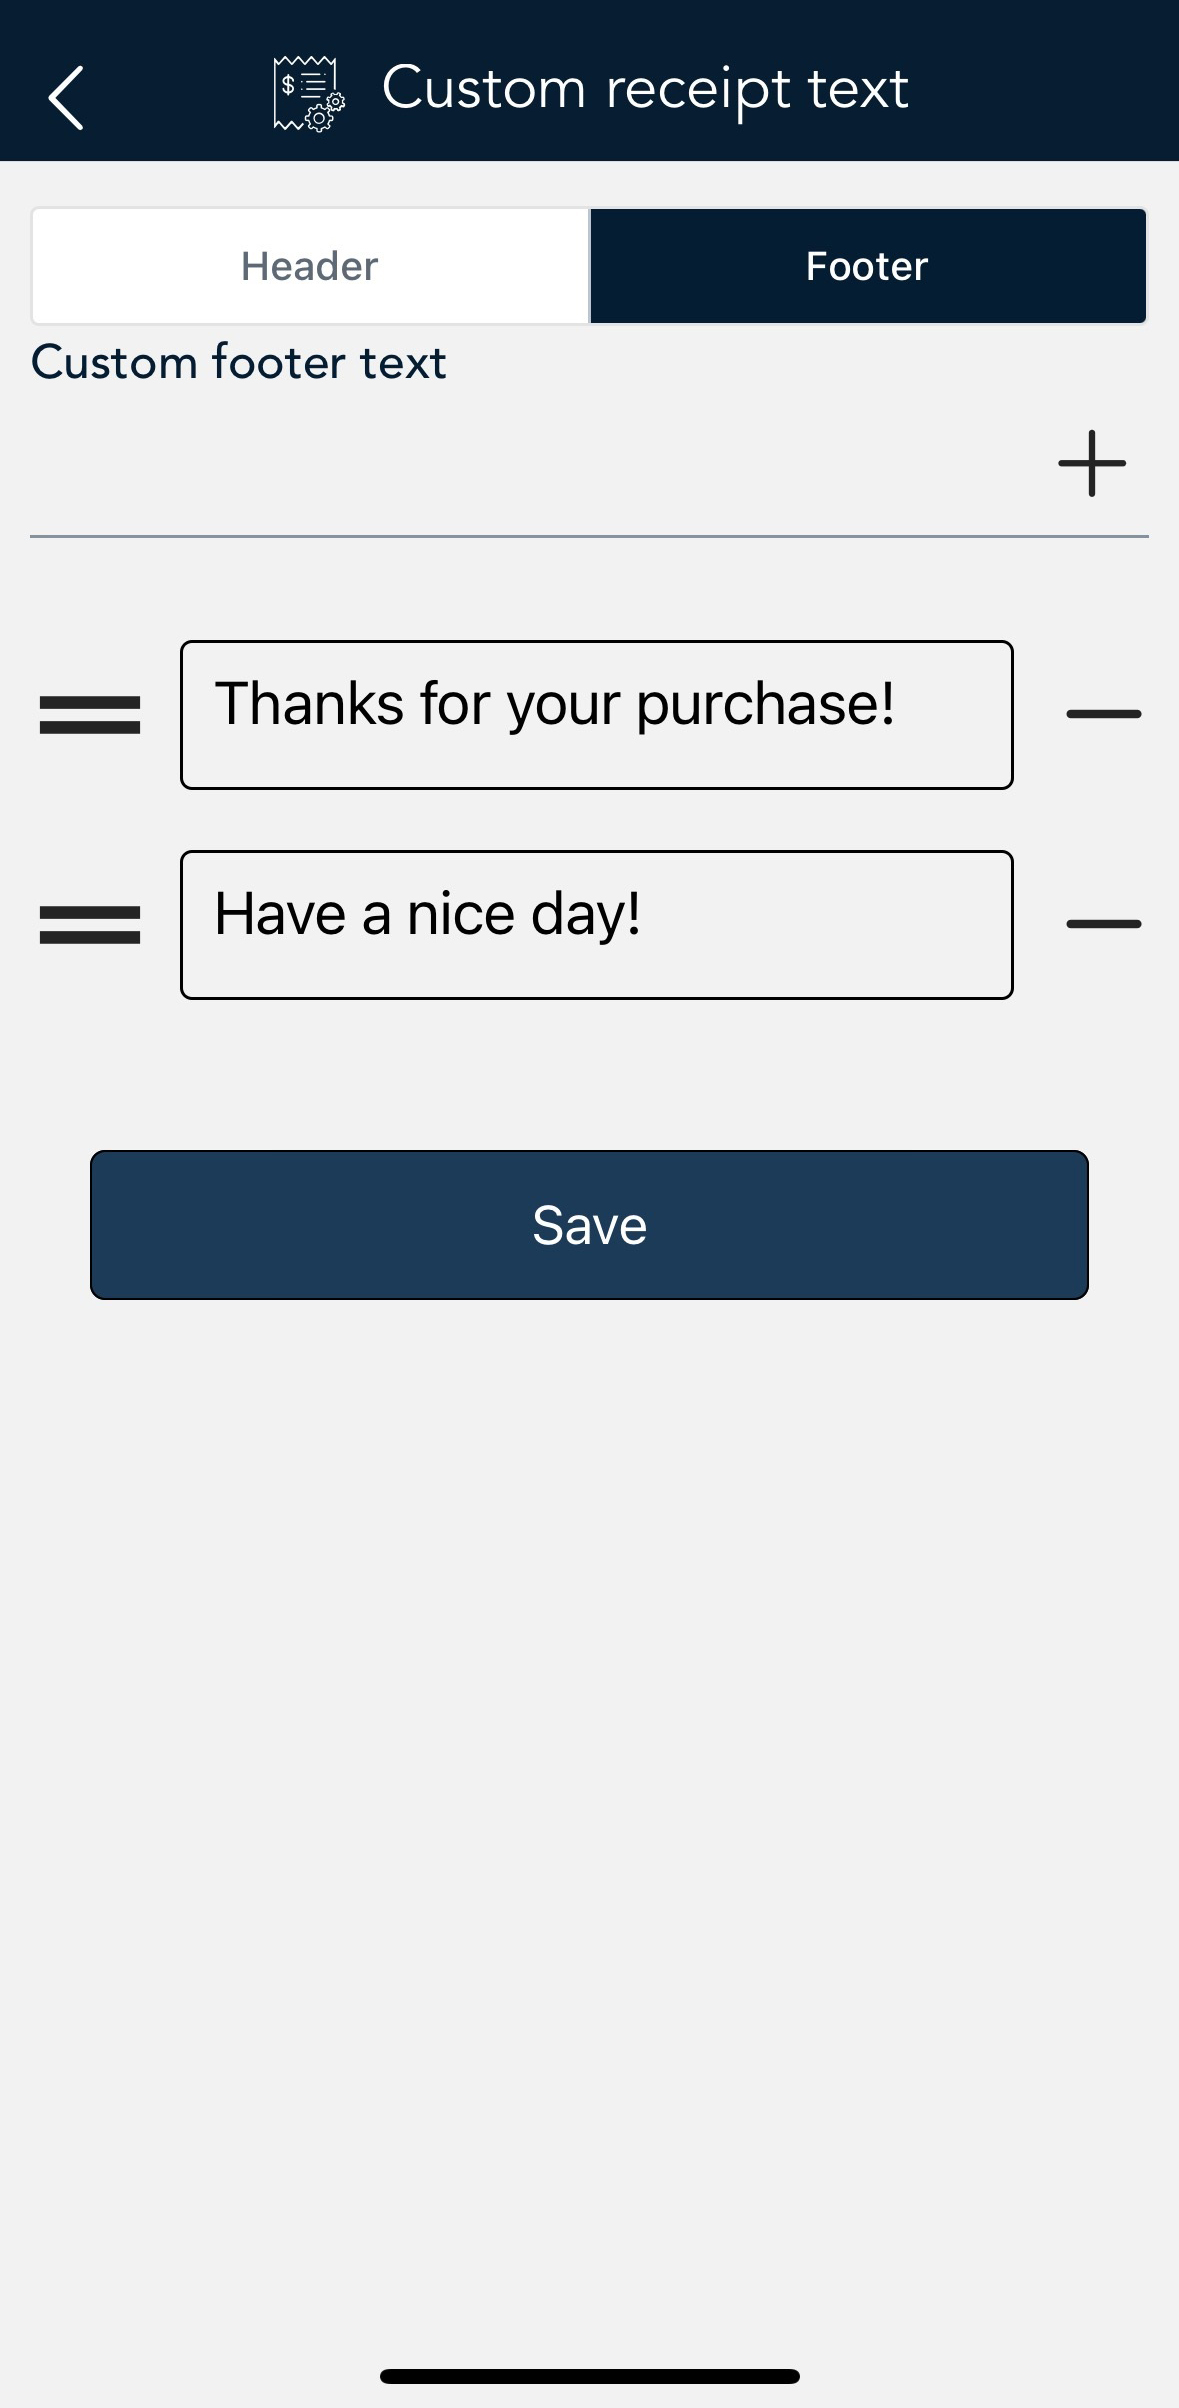
  1. Custom receipt text. To add header or footer text to your customer receipts, tap Custom receipt text then refer to Working with headers and footers below. 
  2. When you are finished with the receipt settings, tap Save.

The application returns to the Settings menu.

  1. To return to the default transaction screen, tap the Main menu  icon, then tap Transactions.

Working with headers and footers

You can add up to 6 lines in the header or footer of customer receipts. Each line can include up to 30 characters.  

Add a header or footer 

  1. On the "Custom receipt text" screen, tap Header or Footer. 
  2. Tap the empty field and use the on-screen keyboard to type the text of the header or footer.
  3. Tap the plus ( + ) sign beside the field to add the header or footer to your receipt. The header or footer now appears below the empty field or existing lines.
  4. To add another header or footer, follow the same steps.


Delete a header or footer

  1. Tap the minus ( ) sign beside the field.


Edit a header or footer

  1. Tap the field you wish to edit. 

Note:     You can drag a header or footer field to change its order on the receipt.


  1. When you are finished with the tip settings, tap Save

The application returns to the Settings menu.

  1. To return to the default transaction screen, tap the Main menu  icon, then tap Transactions.