_Opt.png)
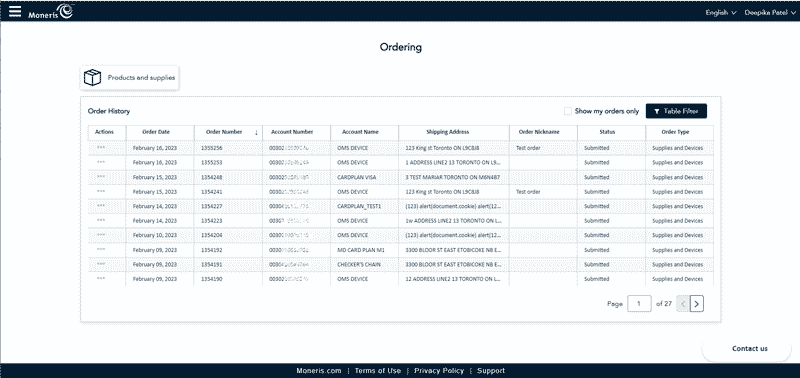
As an basic or administrator user, you have the ability to order products and supplies right from your business accounts. You can view past orders for devices and supplies submitted through MD2 in the Order History table. You can filter your orders listed in the Order History table as well. Follow the instructions below to begin your order.
_Opt.png)
The Ordering screen appears.
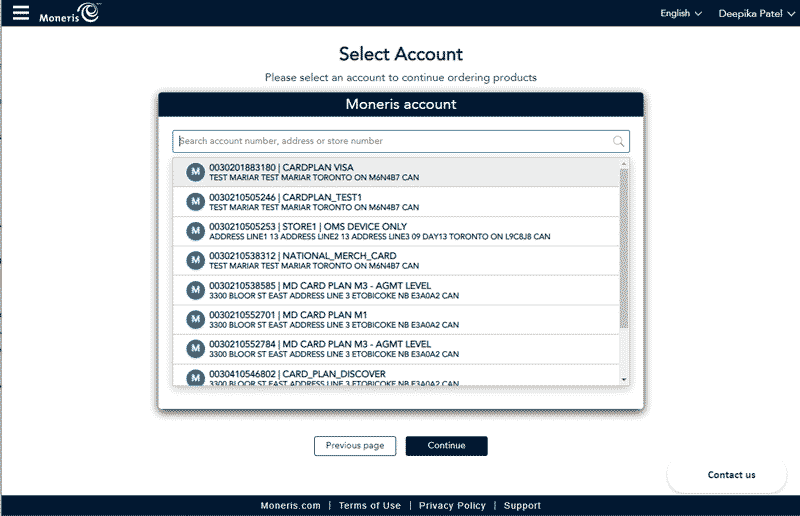
Note: Any matching accounts will display as you type your search criteria.
Here you will see products and supplies that are available to be ordered for the account selected. You can view details of all products and supplies as well as insert the quantity you require. As you add to your order from the sections on the left side, the Order summary section on the right side of the page will update to reflect your order list and lead you to complete and process your order. You can choose to continue with your order, go back to the previous page or cancel the order at any time.
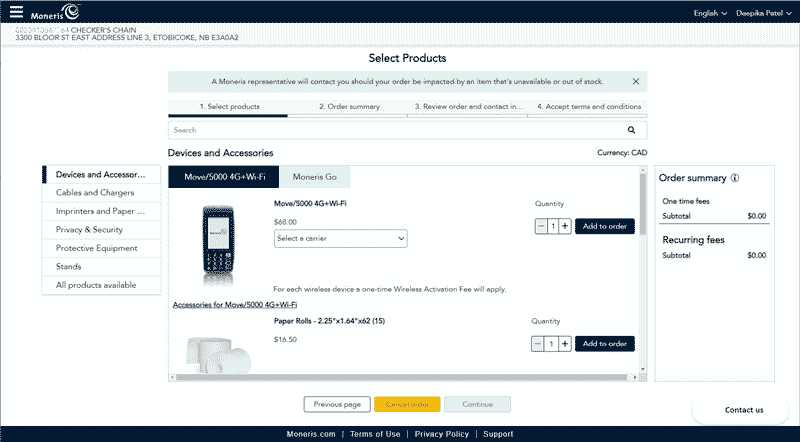
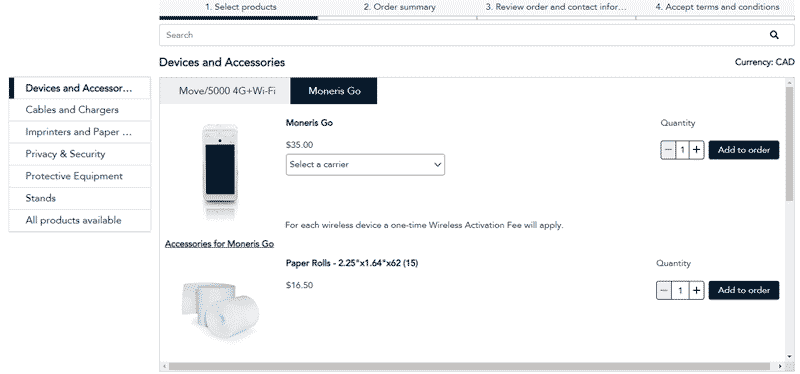
These are the devices that the selected merchant already owns and they can reorder more of them, including its related accessory. If there is more than one device available to you, an additional tab per device will be visible.
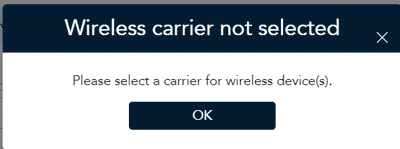
Note: You must select a carrier, otherwise you will see the "Wireless carrier not selected" message.
Note: If the chosen device is a wireless device that needs a carrier setup, the combo box with available selection of the carrier will show with the device.
Note: You cannot enter the numeric value of zero (0), it will automatically default to one (1).
Note: A message will appear when you have reached the maximum order limit the item.
There are various sections on the left side to order from. You can choose to add items from any of the sections.
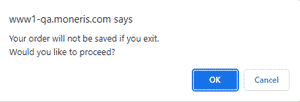
Note: Once you have added an item to your order and attempt to navigate to another site or screen a message will popup.
Note: You cannot enter the numeric value of zero (0), it will automatically default to one (1).
Note: A message will appear when you have reached the maximum order limit the item.
This tab shows all the items you have ordered. You may change the quantity of the ordered items or remove the item from the order summary completely.
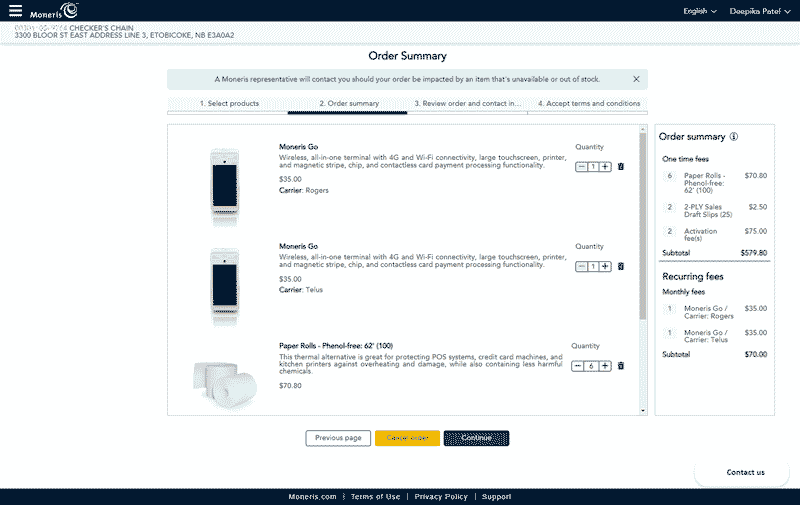
Note: You cannot enter the numeric value of zero (0), it will automatically default to one (1).

Note: A message will appear when you have reached the maximum order limit the item.
The Order summary section will update to reflect the updated quantity and cost.
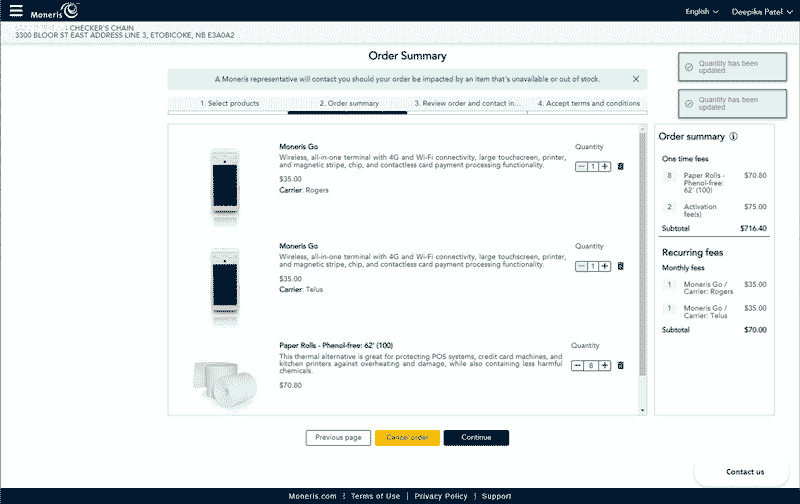
This tab shows details of all the items you have ordered, which includes the unit costs and taxes applied based on your province of the account registered. You may choose to create a nickname for the order for future reference. This is also where you can update and confirm the shipping address.
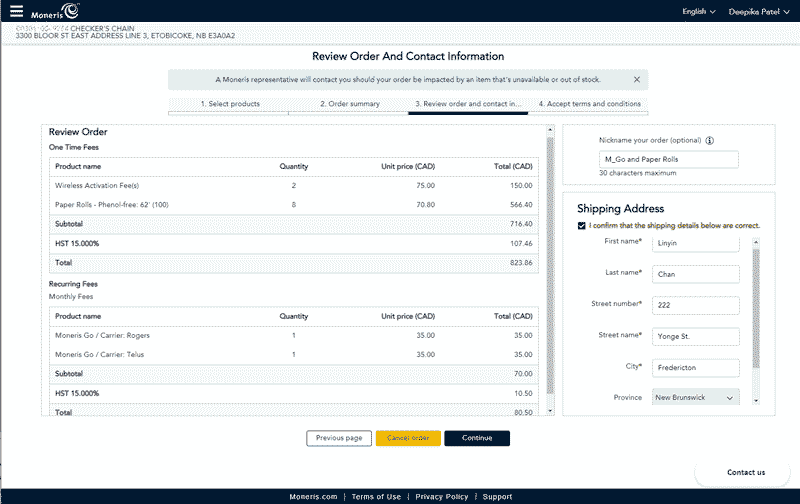
You may choose to create a nickname to reference this order or leave it blank.
Note: The maximum length of the name is 30 characters.
You can keep the populated address in this section or edit any text field to change the address information as needed for the order. All address fields are mandatory to be filled in. Once all the fields are populated with the address information and revised, the "I confirm that the shipping details below are correct" box is enabled.
Note: The province will be disabled as this is linked to your taxation information for your account.
Note: The Continue button will be disabled until the checkmark is entered.
This is the final step in your order process.
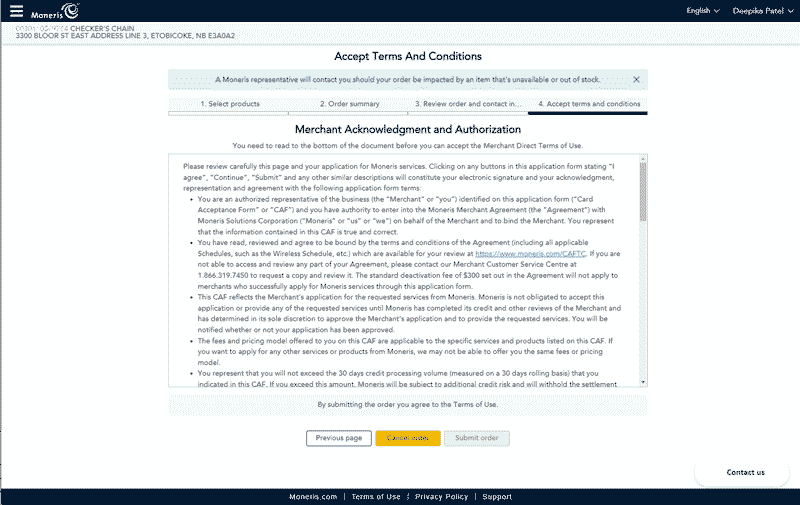
Note: The Submit order button will be disabled until you have read the full acknowledgment.
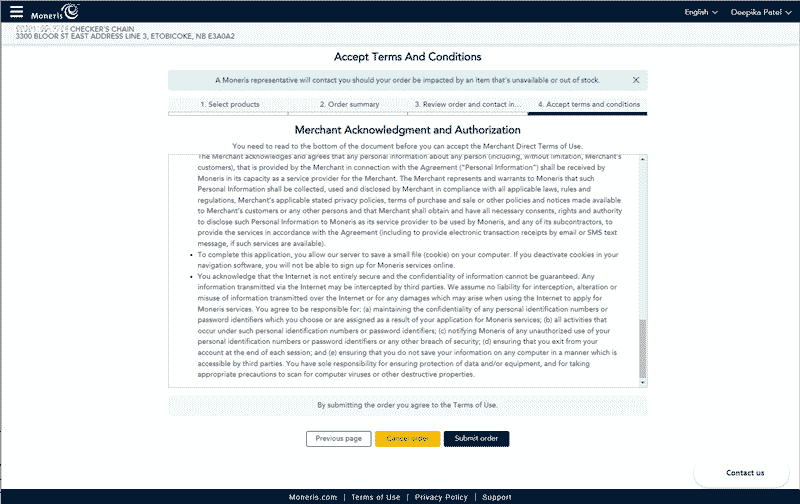
Note: By submitting the order you agree to the Terms of Use.
It will take a few moments to process the order. Then you return to the Ordering screen. You will see a message displayed at the top, indicating your order has been submitted. Your order is visible in the Order History section.
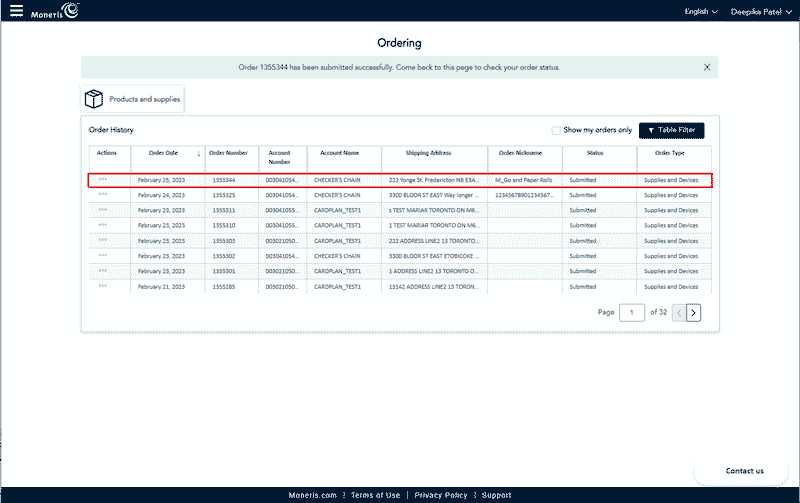
You can view details of past devices and supplies orders submitted through MD2 from the Order History list.

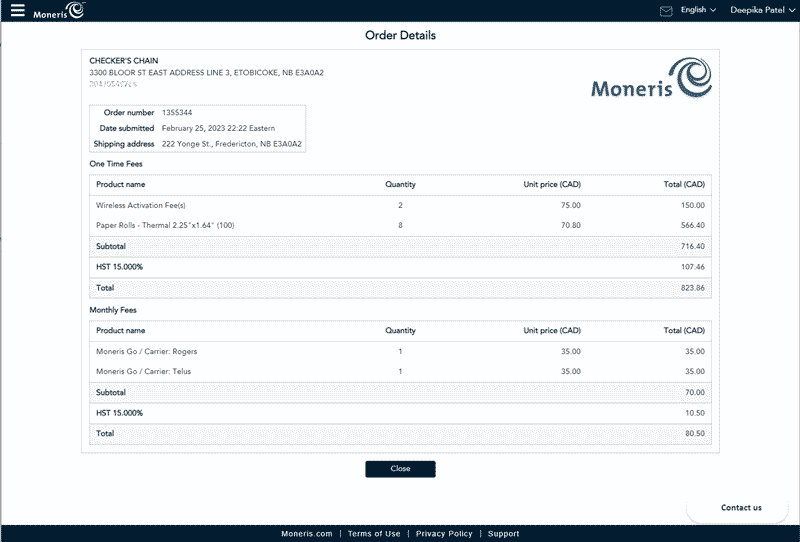
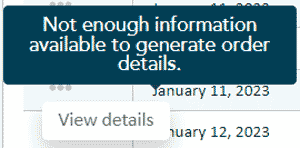
If the requested order details screen cannot be generated, you will see the following message:
You can view order history by applying filters to view specific orders or use the "Show my orders only" option. You can also combine the filters with "Show my orders only".
You can choose to apply filters to search for a specific order you may have placed before.

Note: To remove all previous selections and entries, click Reset.
Click on the first search date and select a date from the popup calendar, repeat the date selection for the second search date then go to step 5.
Note: To apply more filters, click +Add Filter and follow steps 2 to 4.
You can select to see only order that you have submitted.

The Order History section will automatically update with all orders that were submitted through MD2 by the logged in user.
All the items have maximum limits for the order transaction. Devices and accessories have various quantity limits. When you attempt to add a higher quantity of an item and have reached the maximum limit, you will see messages like the following:
You can order a maximum of 5 of the same device on an order (across different carries, if it applicable).

You can order a maximum of 10 of any other non-device item.

You can choose to cancel the order at any time.
The Cancel order popup will appears.
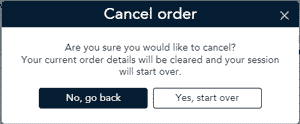
Note: When there is only one associated merchant, you would return to the Ordering screen.
Should you leave the site at anytime before submitting and confirming your order, items ordered to this point will not be saved. This will only appear if you have added at least one item to the order.
You will see the "Changes you made may not be saved" message.

Leave button, to leave the current site and go to the new site.
Cancel button, to remain on the current site.
Should you navigate to another screen within Merchant Direct 2 before submitting and confirming your order, items ordered to this point may not be saved.
You will see the "Your order will not be saved if you exit" message.
