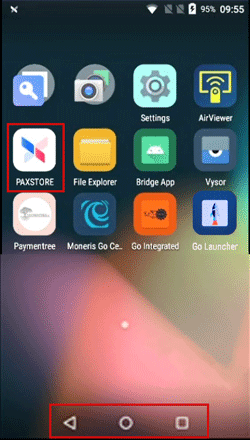
- Install the Go Integrated app.
- Navigate to the terminal's home screen by tapping the circle in the Android navigation bar which appears at the bottom of the screen.
Note: You may have to swipe up from the bottom of the screen to display the navigation bar. - On the home screen, tap the PAXSTORE icon to open the store and view applications you can download and install.
- On the All apps tab, locate the Go Integrated app and tap it to view more information.
- On the Go Integrated screen, tap Install to download and install the app. Once the button at the bottom of the screen changes from "Install" to "Open", the app has been successfully installed.
- Tap the back arrow on the Android navigation bar to return to the home screen.
- Navigate to the terminal's home screen by tapping the circle in the Android navigation bar which appears at the bottom of the screen.
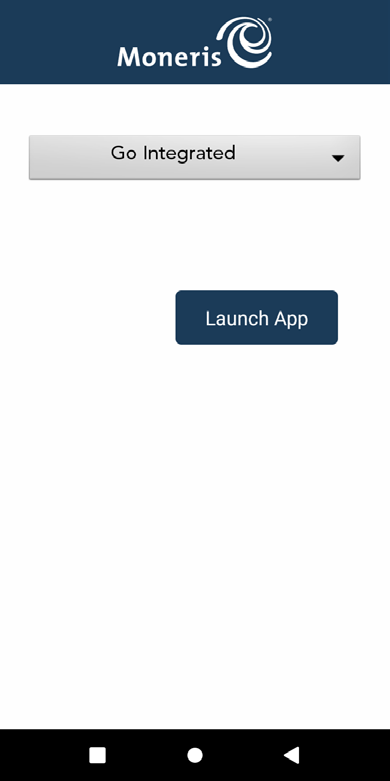
- Open the Go Launcher application.
- On the terminal home screen, tap the Go Launcher icon.
- Wait while the terminal syncs with Moneris.
- On the selection screen, tap the drop-down menu and select Go Integrated.
- Tap Launch app. The Go Integrated app, which you installed in the previous step, will open and sync with Moneris.
Note: Selecting the Go Integrated app in the Go Launcher only needs to be done once. The next time your reboot the terminal, the Go Integrated app will start automatically.
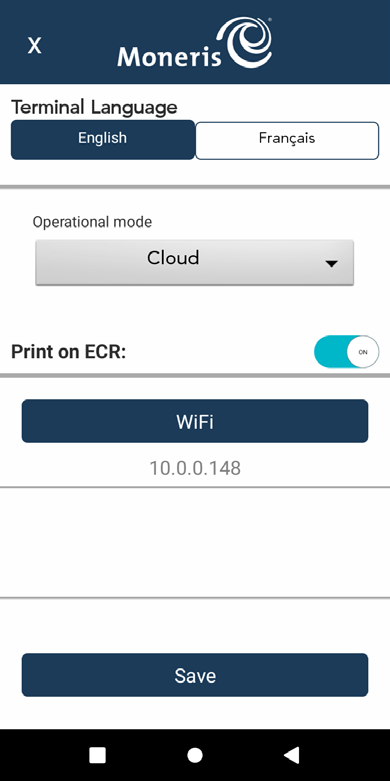
- Configure the Go Integrated app.
- On the “Let’s get payment ready” screen, tap Go.
- On the language screen, select a language for the initial setup.
- On the configuration screen (shown on the left), select the terminal language you prefer when using the terminal.
- Under Operational mode, select Cloud.
- For "Print on ECR," tap the toggle to turn the setting off. This means receipts will be printed on the terminal.
- Tap Save. The terminal syncs with Moneris.
- On the Merchant ID screen, enter your merchant ID. You can find your merchant ID in the welcome messages from Moneris.
- At the congratulations screen, tap Go. The integrated mode idle screen appears showing the time and date. Your terminal is ready to receive transaction commands from Go Retail.
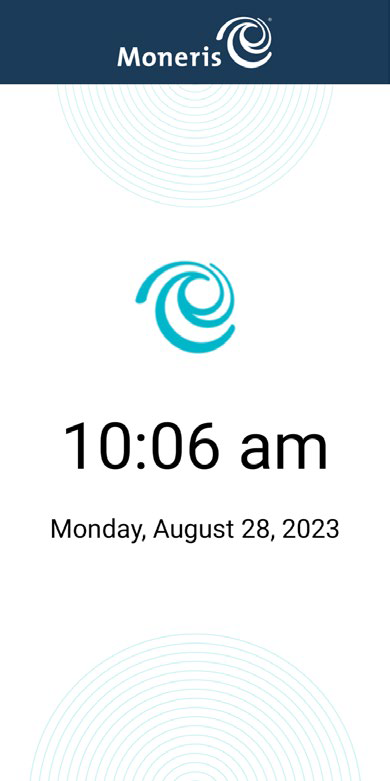
- To change integration settings or exit integrated mode:
- At the idle screen showing the time and date, swipe inward from the left side of the screen.
- Go to step 5.
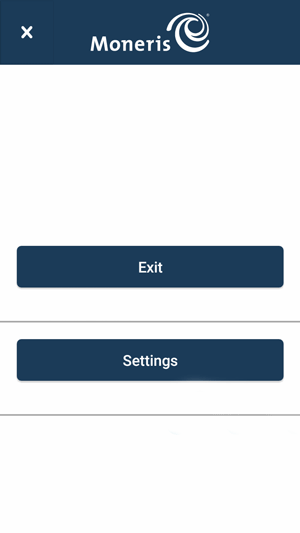
- Choose one of the following actions :
- To change integration settings, tap Settings and enter the passcode (212324). Return to step 3 for help, if required.
- To exit integrated mode, tap Exit. If you exit, the terminal will no longer be integrated with Go Retail, however, you can perform standalone transactions. To use your terminal in stand-alone mode, visit moneris.com/support, click on the terminal you are using (for example, Go and Go Plus) to access its support page.
- To go back, tap the x at the top, left of the screen.