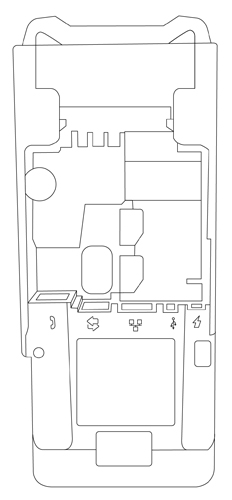
Turn the terminal over so that the back panel is facing you.
Remove the back panel cover to expose the connection well.
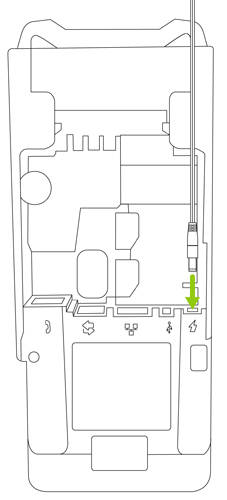
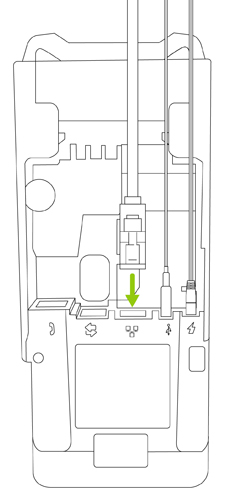
Plug the barrel connector of the power cable into the Power port labelled with the power symbol ( ).
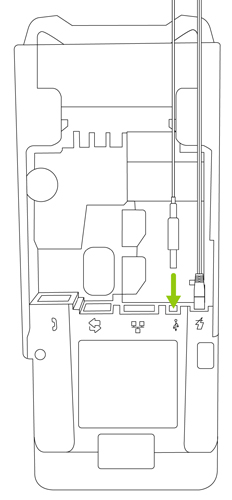
Insert the PIN pad cable into the USB port labelled with the USB symbol (
 ).
).
Insert the Ethernet cable into the Ethernet port labelled with the Ethernet symbol (
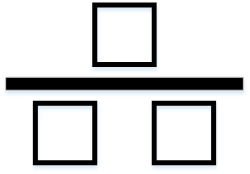 ).
).
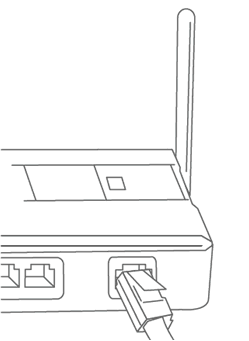
Plug the other end of the Ethernet cable into the router / switch / hub / internal wiring — whatever is applicable to the high-speed Internet service at your location. (If necessary, please refer to the Moneris Ethernet Readiness Checklist, available at moneris.com/checklist).
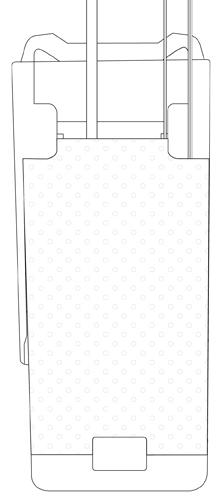
Reattach the back panel flap and close it.
Note: Ensure the cables are not tangled, and emerge smoothly from the back of the terminal so that you can reattach the flap and close it securely.
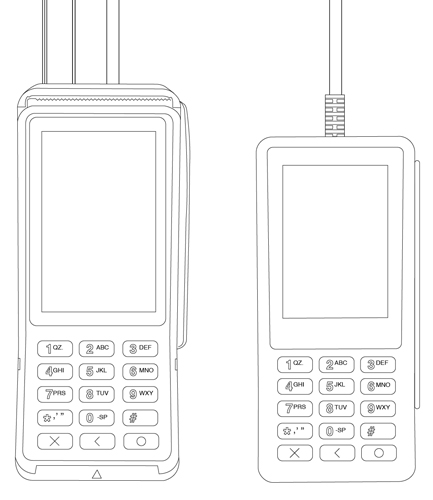
Plug the other end of the power cable into a power source. The terminal and PIN pad will power on.
Recommendations: Always plug the power cable into the power source last to avoid power surges. Use a power bar equipped with surge protection if possible. Do not use the power cable from your existing terminal, as it may damage your new terminal.
IMPORTANT! You must use the exact power adaptor and cables provided by Moneris to work with your terminal. Failure to do so may affect the operability of, or cause damage to, the equipment.