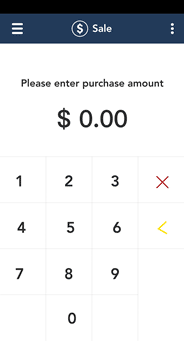
1. Start at the Sale screen and follow steps 1 to 8 in the Purchase transaction procedure.
If your terminal is at a different
screen, tap the Main menu
![]() icon, then tap Sale.
icon, then tap Sale.
Note: Process all pre-paid cards first -- the customer may have more than one.
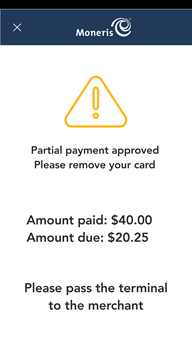
2. When a partial payment is approved, the screen displays the following information to the customer:
§ The approval message;
§ The amount paid;
§ The amount still due;
§ A prompt to pass the terminal back to the merchant.
3. The customer passes the terminal back to you.
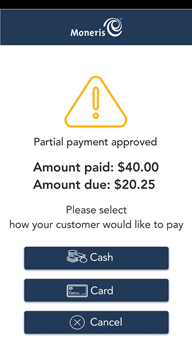
4. The screen displays the partial approval information, together with 3 options. Ask the customer how they would like to proceed.
§ Cash. If the customer wants to pay the remaining balance using cash, tap Cash. Go to step 5.
§ Card. If the customer wants to pay the remaining balance using another card (including other pre-paid cards), process the transaction.
§ If there is still a balance owing, repeat steps 1 to 4.
§ If the balance is fully paid, go to step 5.
§ Cancel. If the customer decides to cancel the sale, tap Cancel. The application will automatically refund all partially approved transactions that were processed as part of this sale and automatically print a cancellation receipt. Go to step 6.
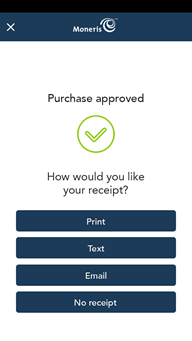
5. Once the purchase is approved, the receipt options screen appears. Ask the customer how they would like their receipt, then tap the appropriate option.
§ If the customer wants to receive their receipt by text or email, tap Text or Email, and pass the terminal to the customer when prompted so they can enter their phone number or email address.
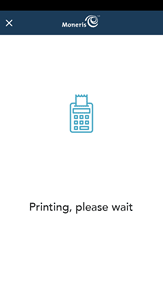
6. If the customer chose to receive a paper receipt, give the receipt to the customer.
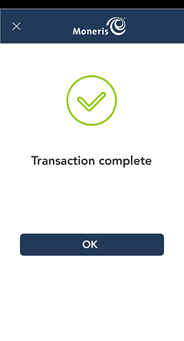
7. The “Transaction Complete” prompt appears.
a. The customer passes the terminal back to you, if applicable.
b. Tap OK to return to the default (Sale) screen.

8. If you enabled merchant receipt printing, the application prints the merchant copy of the receipt.
Store the receipt for your records.

9. The default screen (Sale) appears.
The application is ready to process your next transaction.