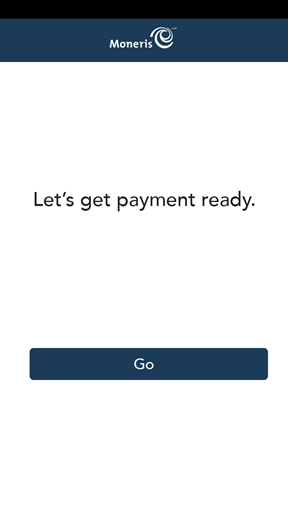
1. Tap Go.
2. Wait while the terminal connects to Moneris to obtain your account settings.
For any connection problems, refer to the No connection error message.
To set up Moneris Go quickly, simply respond to the prompts on screen. If you need help, follow the step-by-step instructions in each section below.
Review common application settings
|
1. Tap Go. 2. Wait while the terminal connects to Moneris to obtain your account settings. For any connection problems, refer to the No connection error message.
|
|
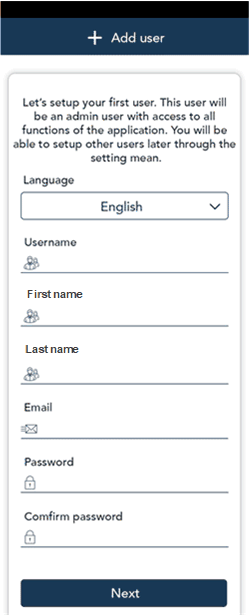
3. The Add user screen appears. Tap each field and enter the required information. You will automatically be assigned the Admin user role. This user role can access all functions and create new user roles. Note: If an Admin user has already been created, the application will skip this step. § Language. Tap Language and choose English or French. Your selection will become the default language for all other users. However, other users can change the language if desired. § Username. You will need to enter your username each time you use the terminal. Make sure your username is easy to remember and easy to type. § First name. Enter your first name. § Last name. Enter your last name. § Email address. For example, [email protected]. This field is required for the first user. § Password. Enter a password you will remember. It must be at least 4 characters long. § Confirm password. This field must match the Password field. 4. Tap Next.
|
|
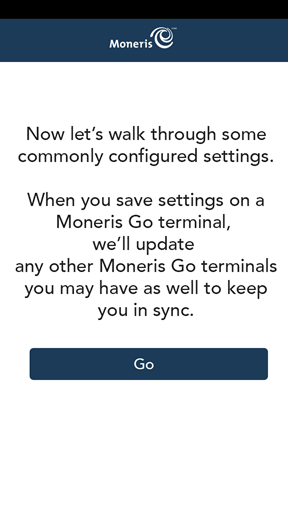
5. Tap Go to begin configuring your Moneris Go application. Note: If you make any changes to these settings, those changes will be reflected on your other Moneris Go terminals. The settings for all of your Moneris Go terminals will be kept in sync.
|
|
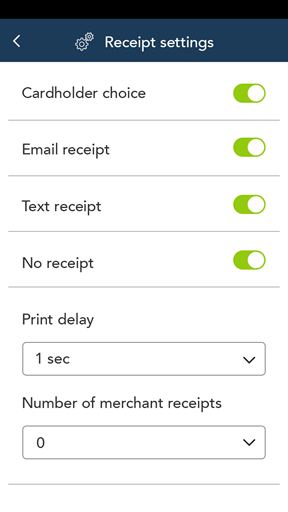
6. Review the Receipt settings screen and choose an action: § To accept the settings shown and move to the next screen, tap Next. You will be able to change the settings later. § To change the settings, tap each toggle or field: § Customer receipt format. When “Cardholder choice” is enabled, you can enable or disable the receipt options available to your customers. If Cardholder choice is disabled, the application will automatically print the customer receipt. § Print delay. This setting determines the delay (in seconds) between printing the customer receipt and printing the merchant receipt. § Number of merchant receipts. By default, the terminal will not print a merchant receipt. If you want a receipt for each transaction, tap the field and select a new value (1 or 2 receipts). § When finished, tap Next. |
|
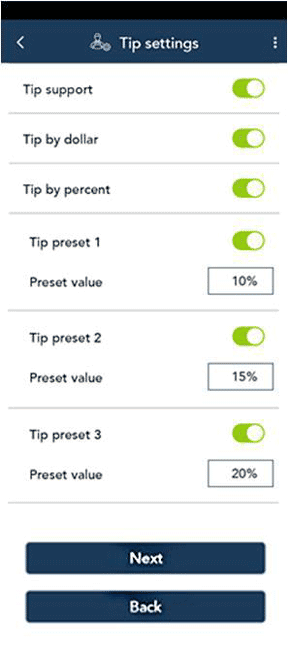
7. Review the Tip settings screen and choose an action: § To accept the settings shown and move to the next screen, tap Next. You will be able to change the settings later. § To change the settings, tap each toggle or field: § Tip Support: Enable this setting to prompt customers to leave a tip. Once you enable Tip Support the tip options will appear. § Tip by Dollar: Enable this setting to allow customers to enter a tip as a dollar amount. § Tip by Percent: Enable this setting to allow customers to enter a tip as a percentage of the total amount. § Tip Preset 1: Enable this setting to allow customers to enter a tip as a pre-set percentage. Tap the Preset Value field and enter a percentage (for example, 10), then tap OK. § Tip Preset 2: Enable this setting to allow customers to enter a tip as a pre-set percentage. Tap the Preset Value field and enter the percentage; for example, 15. Tap OK. § Tip Preset 3: Enable this setting to allow customers to enter a tip as a pre-set percentage. Tap the Preset Value field and enter the percentage; for example, 20. Tap OK. § When finished, tap Next. |
|
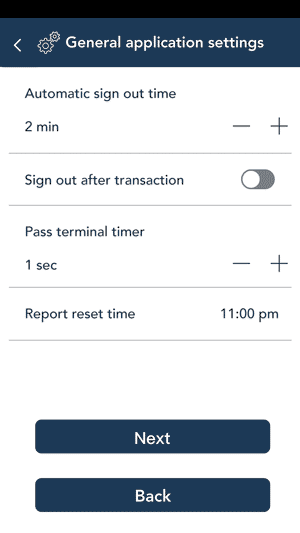
8. Review the General application settings screen and choose an action: § To accept the settings shown and move to the next screen, tap Next. You will be able to change the settings later. § To change the settings, tap each toggle or field: § Automatic sign out time. The application will automatically sign you out after 2 minutes of no activity. Tap the minus sign or plus sign to change this time period. § Sign out after transaction. This option is disabled by default. If you enable it, the application will sign you out after each transaction. § Pass terminal timer. When a customer response is needed, the application displays the “Please pass the terminal to your customer” screen for 1 second. Tap the minus sign or plus sign to change this time period. § Report reset time. This is the time when your reports will reset to $0. To change it, tap the field and set a new time. For example, if you set it for 12:00am, the reports in the application will cover the period from 12:00 a.m. to 11:59 p.m. It is best to set the Report reset time 2 to 3 hours outside of your typical business hours – if you close at 10 p.m. set it for 12 a.m., if you close at 2 a.m. set it for 4 a.m. If you are open 24 hours, choose a logical break point like a shift change. § When finished, tap Next. |
|
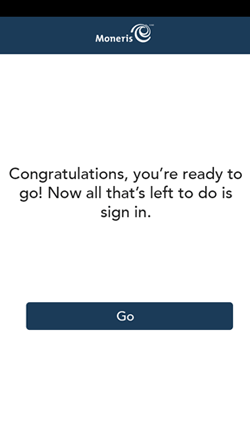
9. Tap Go to sign to the application.
|
|
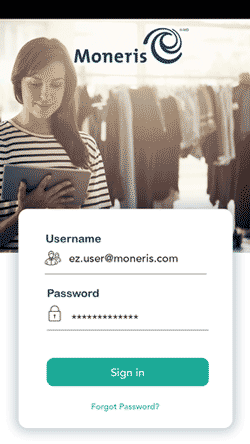
10. Sign in to the application. a. Tap the Username field and enter your username. b. Tap the Password field and enter your password. c. Tap Sign in. 11. The application displays the Sale screen. This is the default screen.
|
§ Enrol in Merchant Direct, the Moneris online tool for accessing all of your merchant reports
§ Process a sale or other transactions
§ Get an overview of your terminal