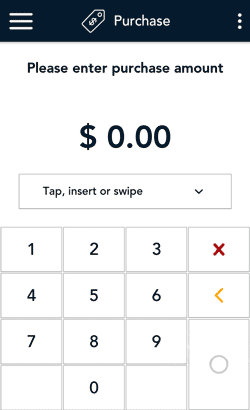
- Start at the Purchase screen. This is the default transaction.
If your terminal is at a different screen, tap the Main menu  icon, then tap Transactions.
- Tap the card entry field (Tap, insert or swipe) to display the card entry options.
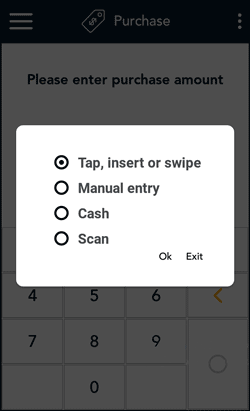
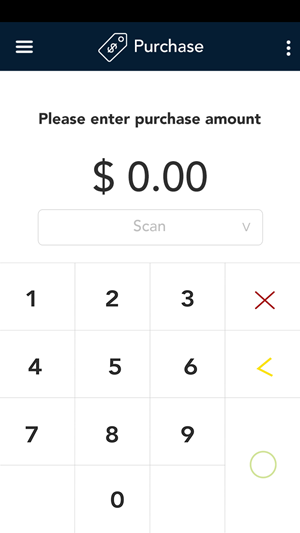
- Tap Scan, then Ok.
- Enter the purchase amount, then tap the OK ◯ key.
Note: The order of these initial steps is flexible. You can enter the purchase amount first, or you can choose the method of card entry first. Both will work.
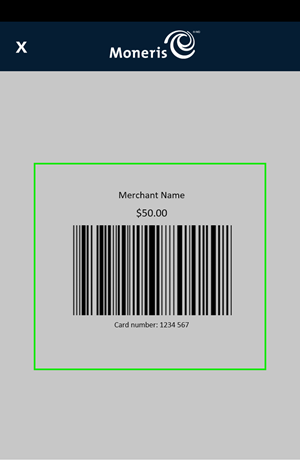
- Hold the gift card below the terminal so that the bar code is visible on the screen. The application automatically reads the bar code and retrieves the card number.
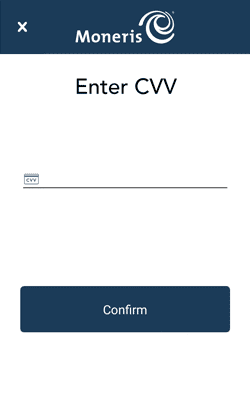
- Tap the CVV field, enter the card verification value (CVV) from the back of the card, then tap the checkmark. Tap Confirm to continue.

- Pass the terminal to your customer so they can respond to the customer prompts.
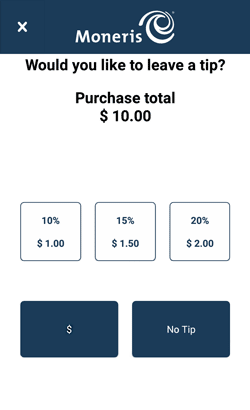
- If tip entry is enabled, the customer enters a tip (or no tip).
The “Processing, please wait” message may appear.
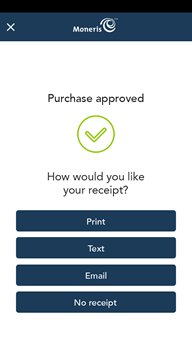
- Once the purchase is approved, the “How would you like your receipt?” prompt appears, showing the available options for receiving a receipt: Print, Text, Email, and No Receipt.
- The customer selects a receipt format (or no receipt) by tapping one of the options on screen. If the customer chooses Text or Email, they are prompted to enter the appropriate information.
Note: You can choose which receipt options are shown. Refer to Receipt settings.
- The customer passes the terminal back to you, as directed by the application.
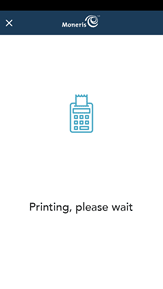
- The application prints receipts if requested.
- If the customer requested a printed receipt, give them the cardholder copy.
- If you enabled merchant receipt printing, keep the merchant copy for your records.
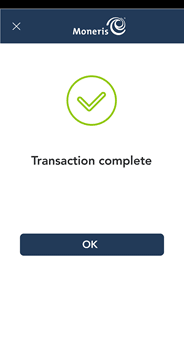
- When the “Transaction complete” prompt appears, tap OK to return to the default transaction screen.
- The default transaction screen appears.
The application is ready to process your next transaction.