1. Lift the printer latch up, and then pull back to open the lid and expose the paper well.
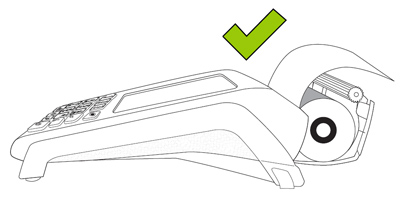
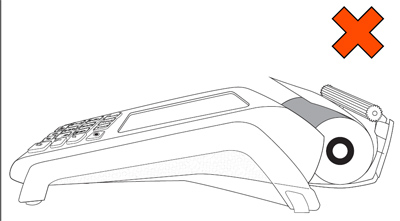
2. Insert the paper roll into the paper well with the loose end unrolling from the top of the roll toward the back of the terminal.
Note: If the paper is installed backward, your printouts will be blank.
3. Unroll enough paper to extend at least one inch (2.5 cm) past the back of the terminal.
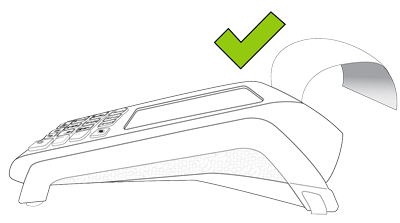
4. Close the lid, and press down to snap it back into place so that the extended paper is pressed securely against the closed lid and the faceplate.
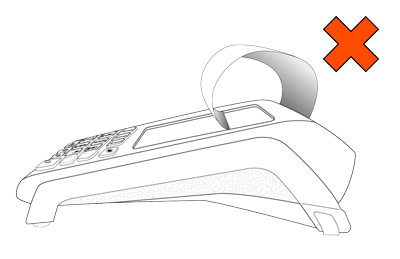
Note: The paper should unroll back over the top of the printer, not unroll over the faceplate.
Note:
To advance the paper from the printer when the lid is closed,
you must press and hold down the paper feed key  when the terminal is powered on. DO NOT attempt to manually advance
the paper by pulling it as this will damage the printer.
when the terminal is powered on. DO NOT attempt to manually advance
the paper by pulling it as this will damage the printer.
 key until the screen illuminates.
Once powered on, proceed to
key until the screen illuminates.
Once powered on, proceed to